
Use Custom Calendar
Introduction
The Reluna Platform offers a dynamic custom calendar feature that allows you to create flexible date-based filters. With this, you can set filters such as “yesterday,” “next 7 days” or other rolling timeframes, without needing to update the date manually every time.
When Can I Use the Custom Calendar
The Custom Calendar option is available in the Filters of most objects across the platform, including:
Portfolios
Positions
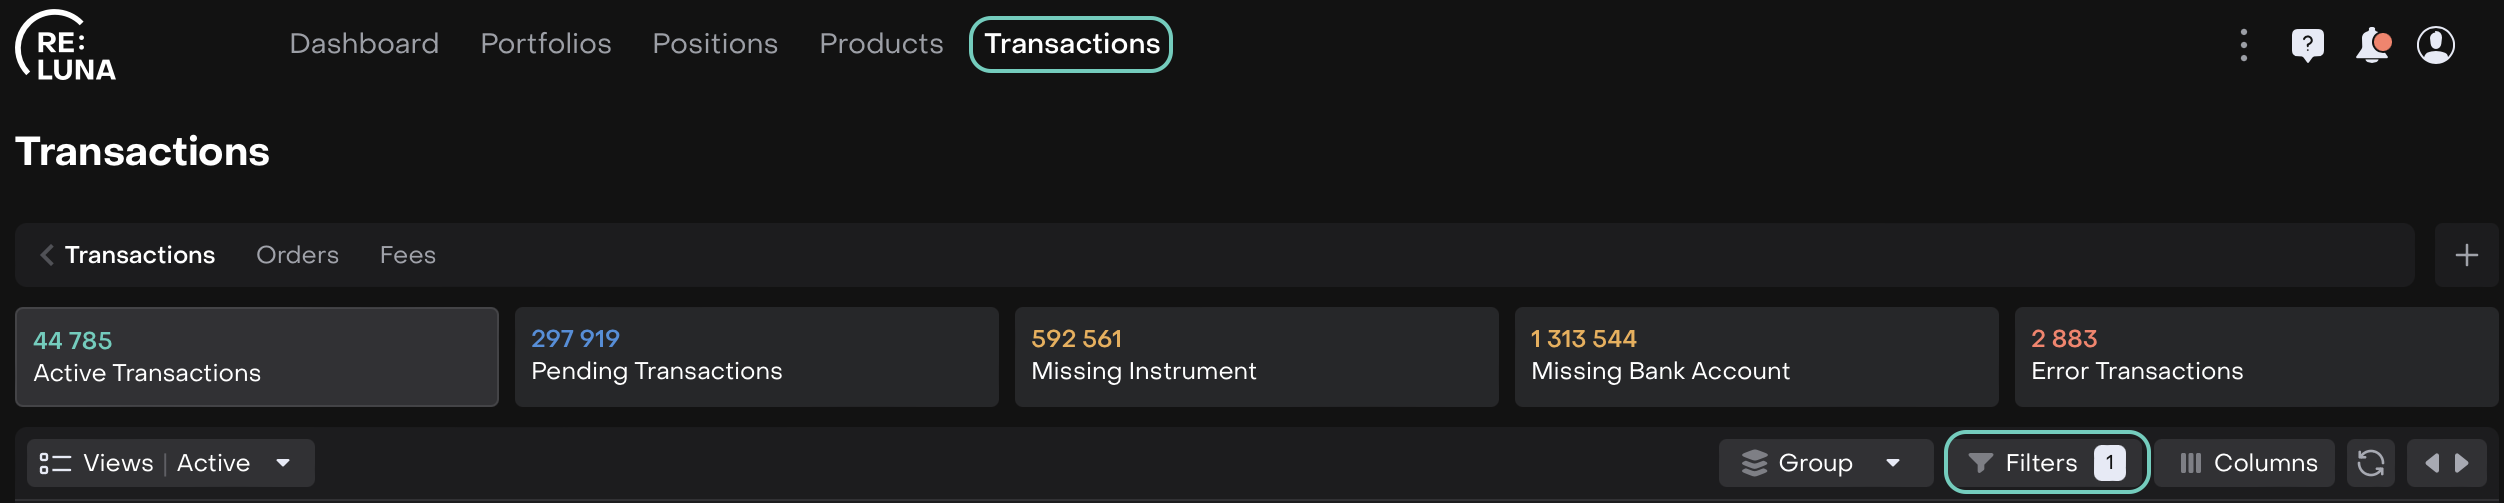
Transactions
Accounts and more.
You can apply it to any field with the type Date or Date & Time.
How to Apply a Custom Calendar Filter
Navigate to the object you want to filter (e.g., Transactions) and open the Filter Manager.
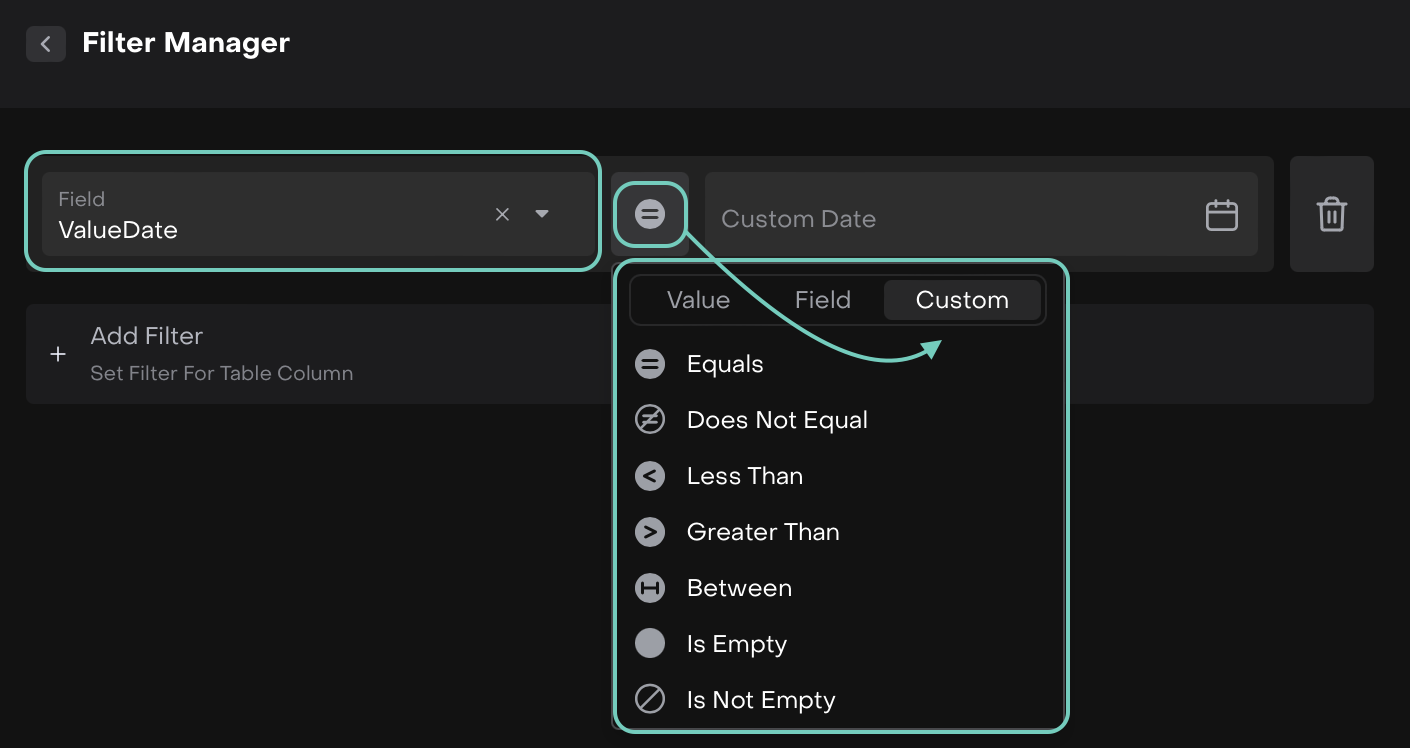
Choose a field with type Date or Date & Time (e.g., Trade Time).
Click on the operator (such as Equals) and select Custom.
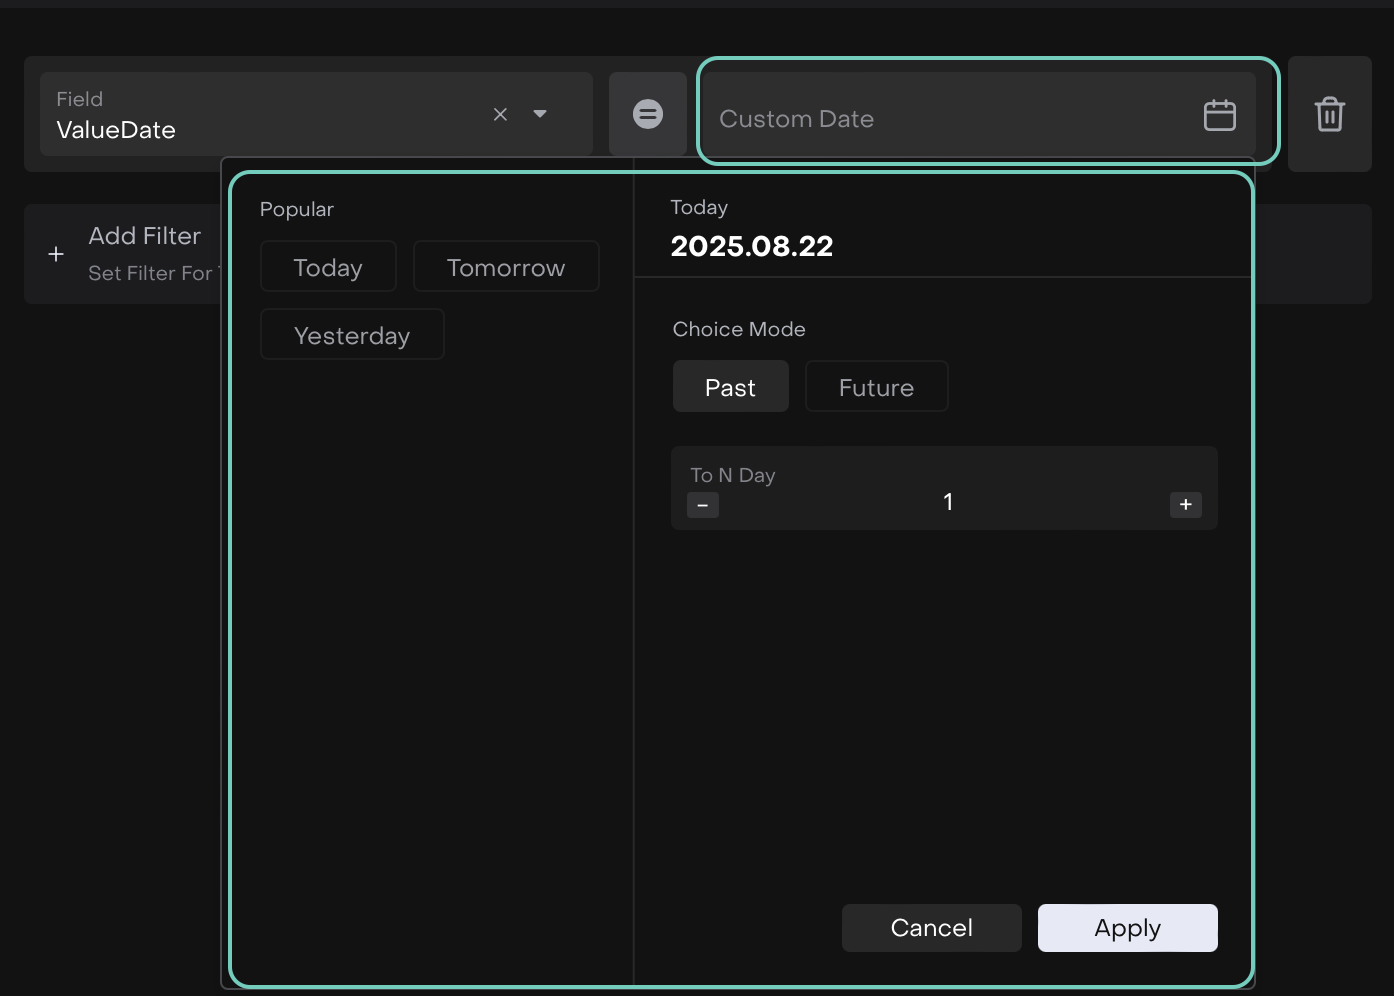
Now, the platform will display the current date with options to adjust by Past or Future.
Example: Select Past > Today - 1 to filter for “yesterday.”
Click Apply to activate the filter or Cancel to go back.
To reuse it, save the filter as a Custom View.
👉 Learn how to manage views here.
Use Case Example
View all transactions with Trade Date = Yesterday.
Go to Transactions > Filter Manager.
Select Trade Time as the field.
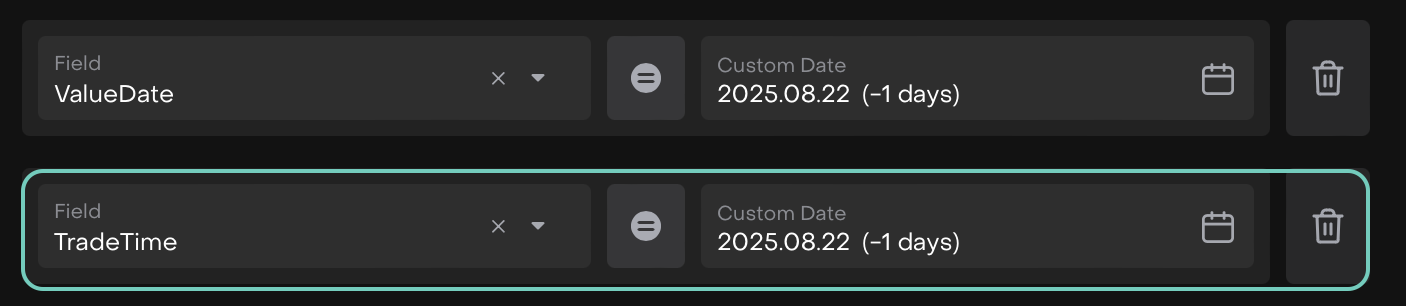
Choose the operator Equals and set Custom > Past > Today - 1.
Apply and save this as a custom view.
The platform will automatically display all transactions from “yesterday” each day without needing to update the filter manually.

Supported Operators with Custom Calendar
Equals / Does Not Equal / Less Than / Greater Than
→ Allows setting ± N day(s) relative to the current date.Between
→ Allows setting ± N day(s) for both start and end dates.