
Manage Private Assets
Introduction
As a High Net Worth Individual (HNWI), you may own and manage a diverse range of assets. Some of these assets might be handled by professional portfolio managers through management contracts, while others, your private assets, are managed directly by you or your managers.
The Private Assets feature in the platform is designed to meet these needs, offering you an integrated solution to easily manage, track and analyze your diverse portfolio.
Platform does not support corporate actions on Private instruments.
🔗 Click here to learn about Personal Asset Management.
Key Terminologies
Term (A–Z) | Definition |
|---|---|
Classification | Defines the category of your private asset, such as Private Equity, Tangible Asset, or Intangible Asset. |
Commitment | Represents the amount you have committed, pledged, or invested in your private asset. You can record total investments, contributions, or capital allocations made toward any asset type. |
Documents | Refers to the supporting files related to your asset, such as purchase contracts, valuation reports, or ownership records. |
Latest Funding Round | Captures the stage or phase of financing for your private asset (for example, Seed, Series A, or IPO) or the latest milestone relevant to its valuation or acquisition. |
Price History | Maintains a record of your asset’s valuation changes over time, helping you track its performance and value progression. |
👉 New to some terms? Check our full Platform Glossary for quick definitions.
Create Private Assets
You can create a Private Asset in two ways:
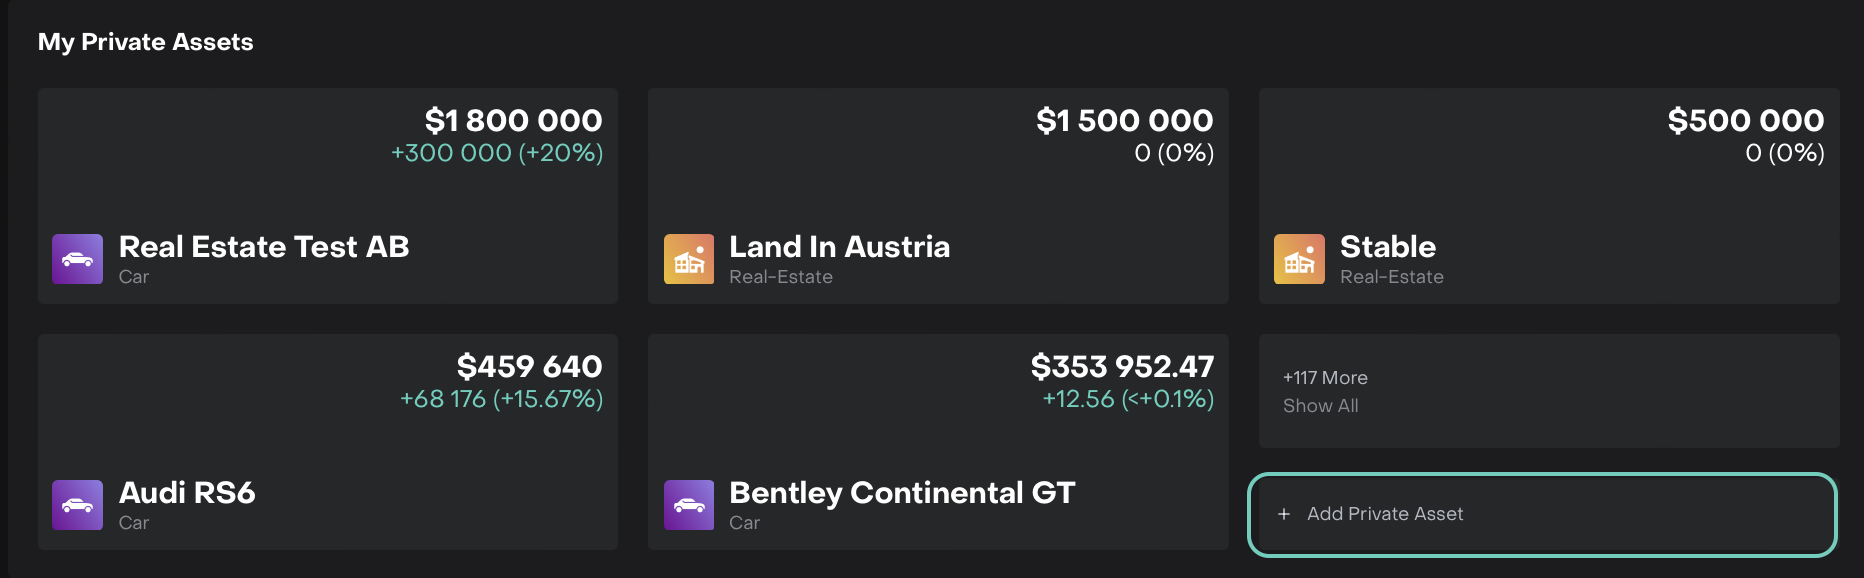
From your Dashboard
Go to the My Private Assets widget.
Click + Add Private Asset.
From your Portfolio
Navigate to Portfolios tab.
Click + Create Private Asset (available for Virtual Portfolios).

Once you start, a stepper form will open for creation process.
Step 1: Classification
Define the category and type of your private asset. Fields marked with (*) are mandatory.
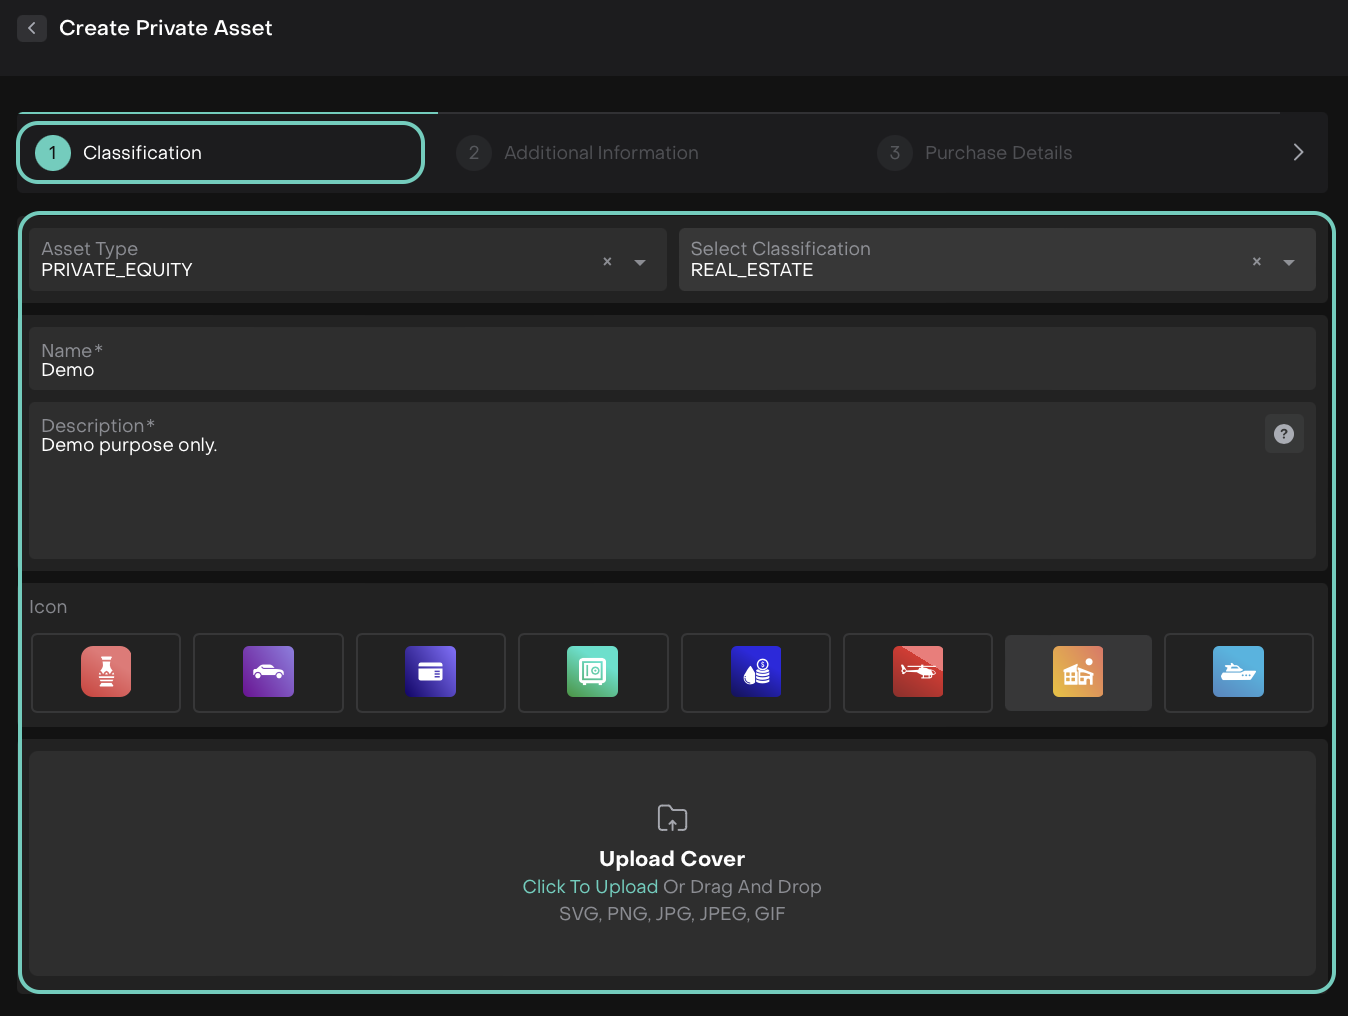
Upload Cover (Optional):
When adding a cover image for your asset:
You can click to upload a file from your system or drag and drop it directly into the upload area.
Supported formats include: SVG, PNG, JPG, JPEG, GIF.

Once uploaded, you can either click Next to continue or Close to exit without saving.
To remove the cover, simply click the Delete button, your asset will revert to having no cover.
Click Next to proceed to the next step, or Click Close to exit without saving.
Step 2: Additional Information
Enter key details about your asset. Fields marked with (*) are mandatory.
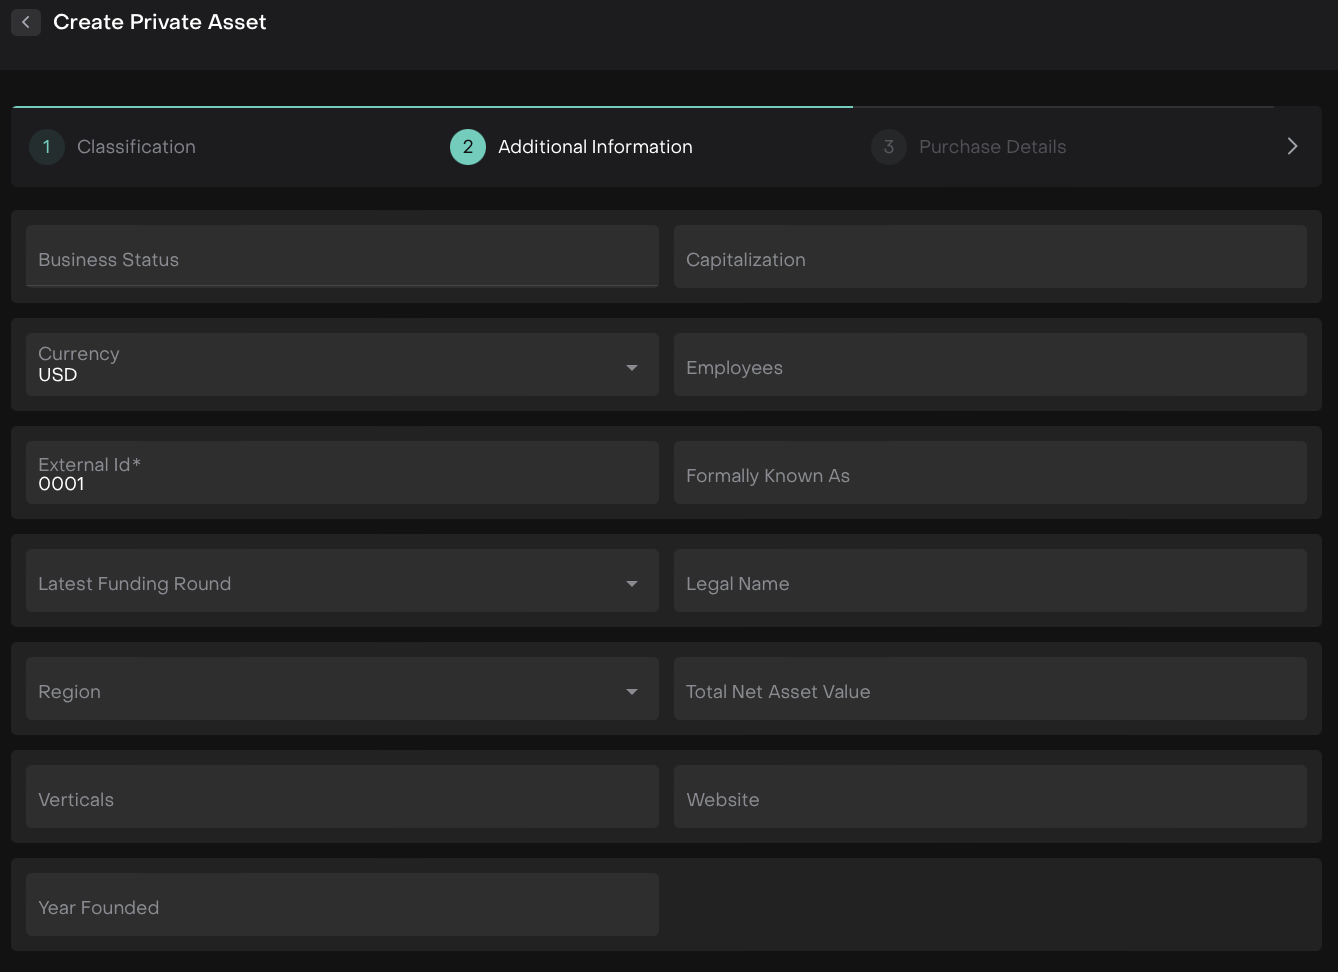
Click Next to proceed to the next step, or Click Close to exit without saving.
Step 3: Purchase Details
Provide the purchase, valuation and trade details of your asset. Fields marked with (*) are mandatory.

Field Name | Description / Options |
Add This Asset to Portfolio As | Choose how you want to add this asset to your portfolio. Options:
|
Trade Time (*) | Enter the exact time of the trade or acquisition. Only past or present dates are allowed; future dates are not permitted. |
Value Date (*) | Specify the date when the asset valuation is effective. Only the current date is allowed; past or future dates are not permitted. |
Quantity (*) | Enter the number of units or shares for the asset. |
Price Currency (*) | Select the currency used to report the asset’s price. |
Price (*) | Enter or update the current valuation of your asset. |
Accrued | Enter any accrued interest, dividends or benefits related to the asset. |
Payment Currency (*) | Specify the currency in which payments were or will be made. |
Commission | Enter any commission or fees paid during acquisition. |
Initial Funding (%) | Specify the percentage of the total committed capital that this purchase represents. |
Click Next to proceed to the next step, or Click Close to exit without saving.
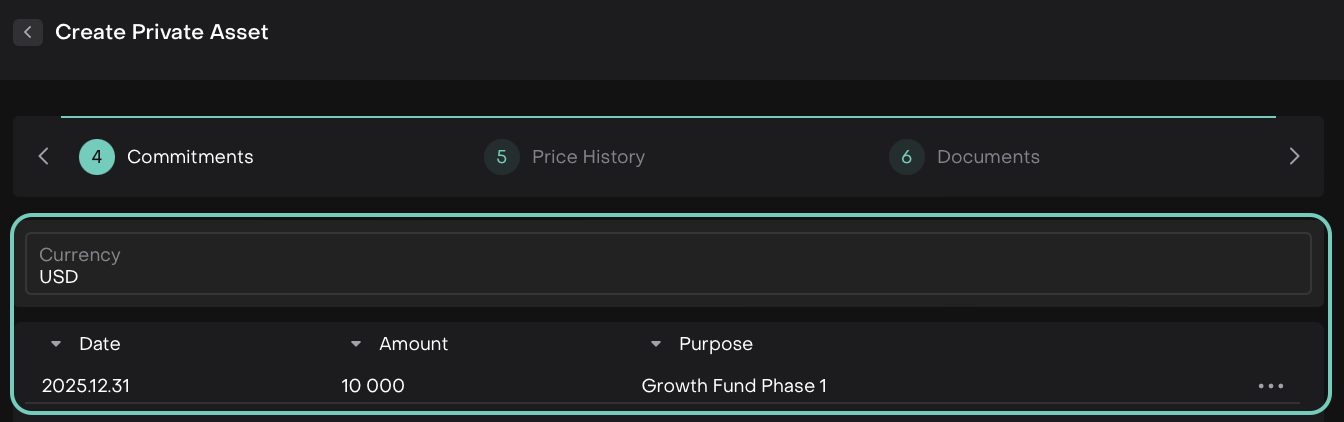
Step 4: Commitments
Enter the commitment details for your Private Asset.
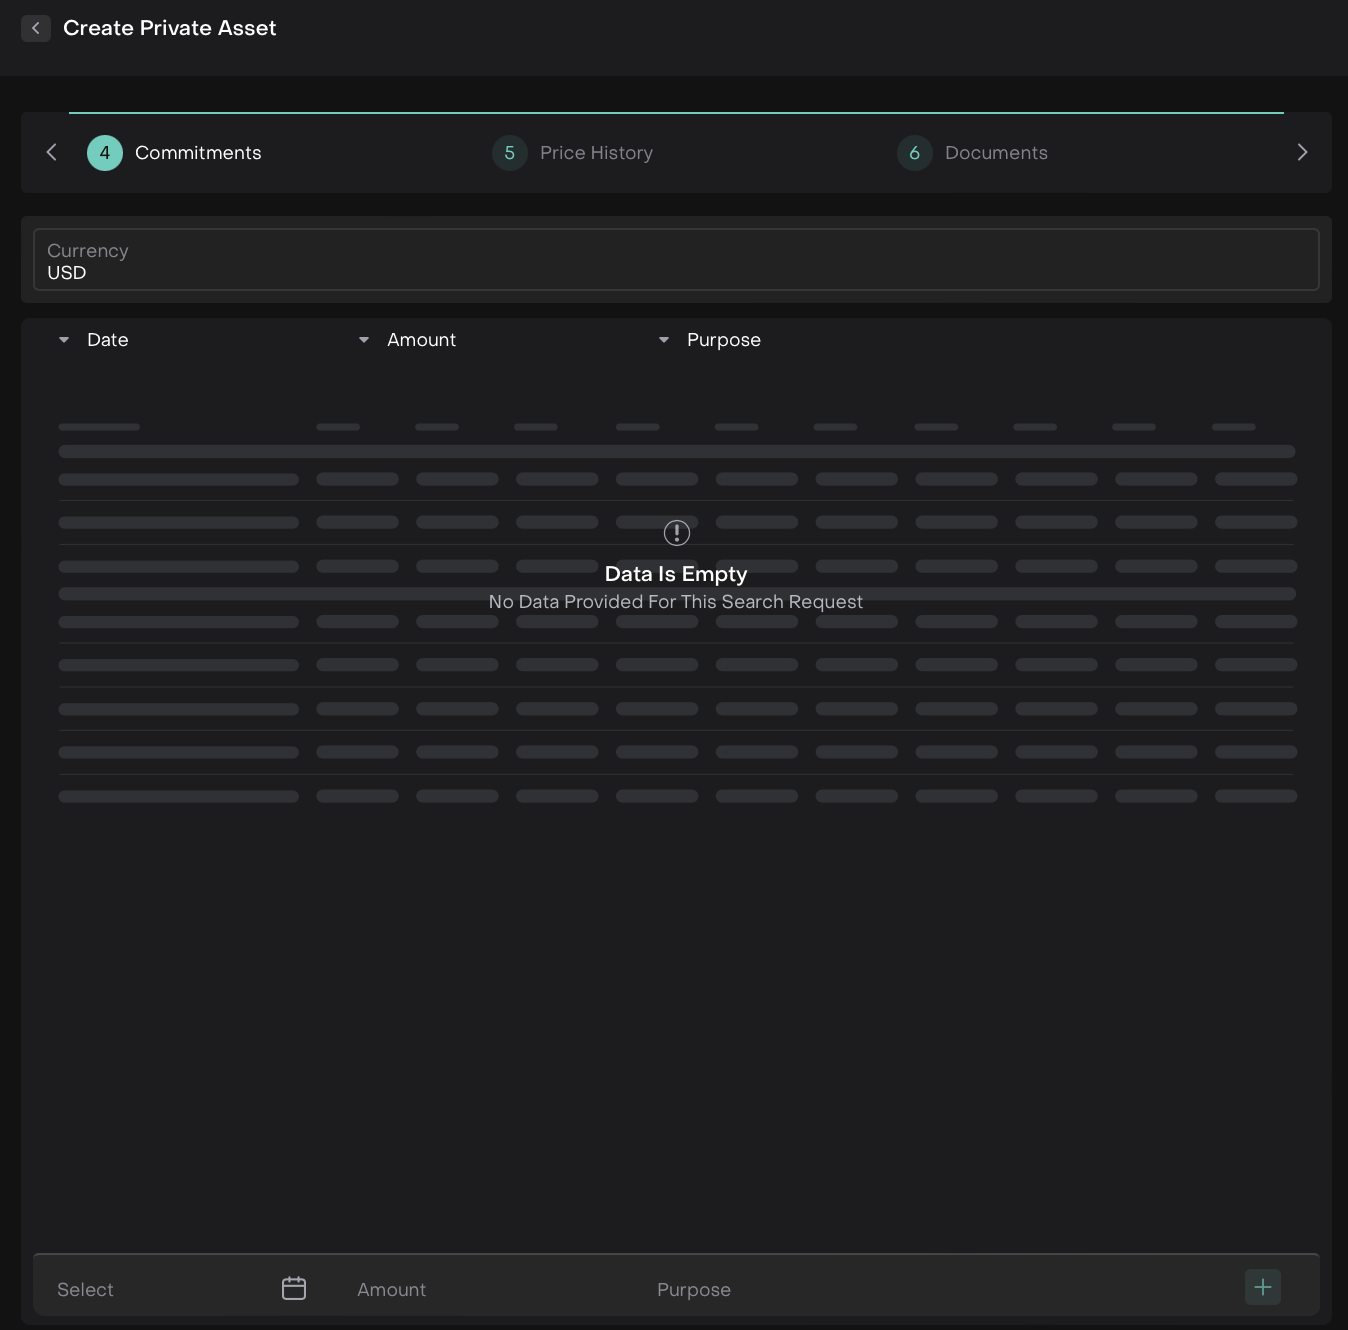
Fill in the following fields:
Date (*) – select the commitment date.
Amount – enter the amount you are committing.
Purpose – optionally add a brief description or purpose of the commitment.
Only present or future dates are allowed; past dates are not permitted.
Currency – automatically set to the currency you chose in the Additional Information step; you cannot change it here.
Click the green + icon to add a new commitment entry.
To make changes, edit to remove a commitment, click the Delete button next to the entry.
Amount and Purpose fields are editable.
Click Next to proceed to the next step, or Click Close to exit without saving.
Step 5: Price History
Record or update the valuation history for your asset.
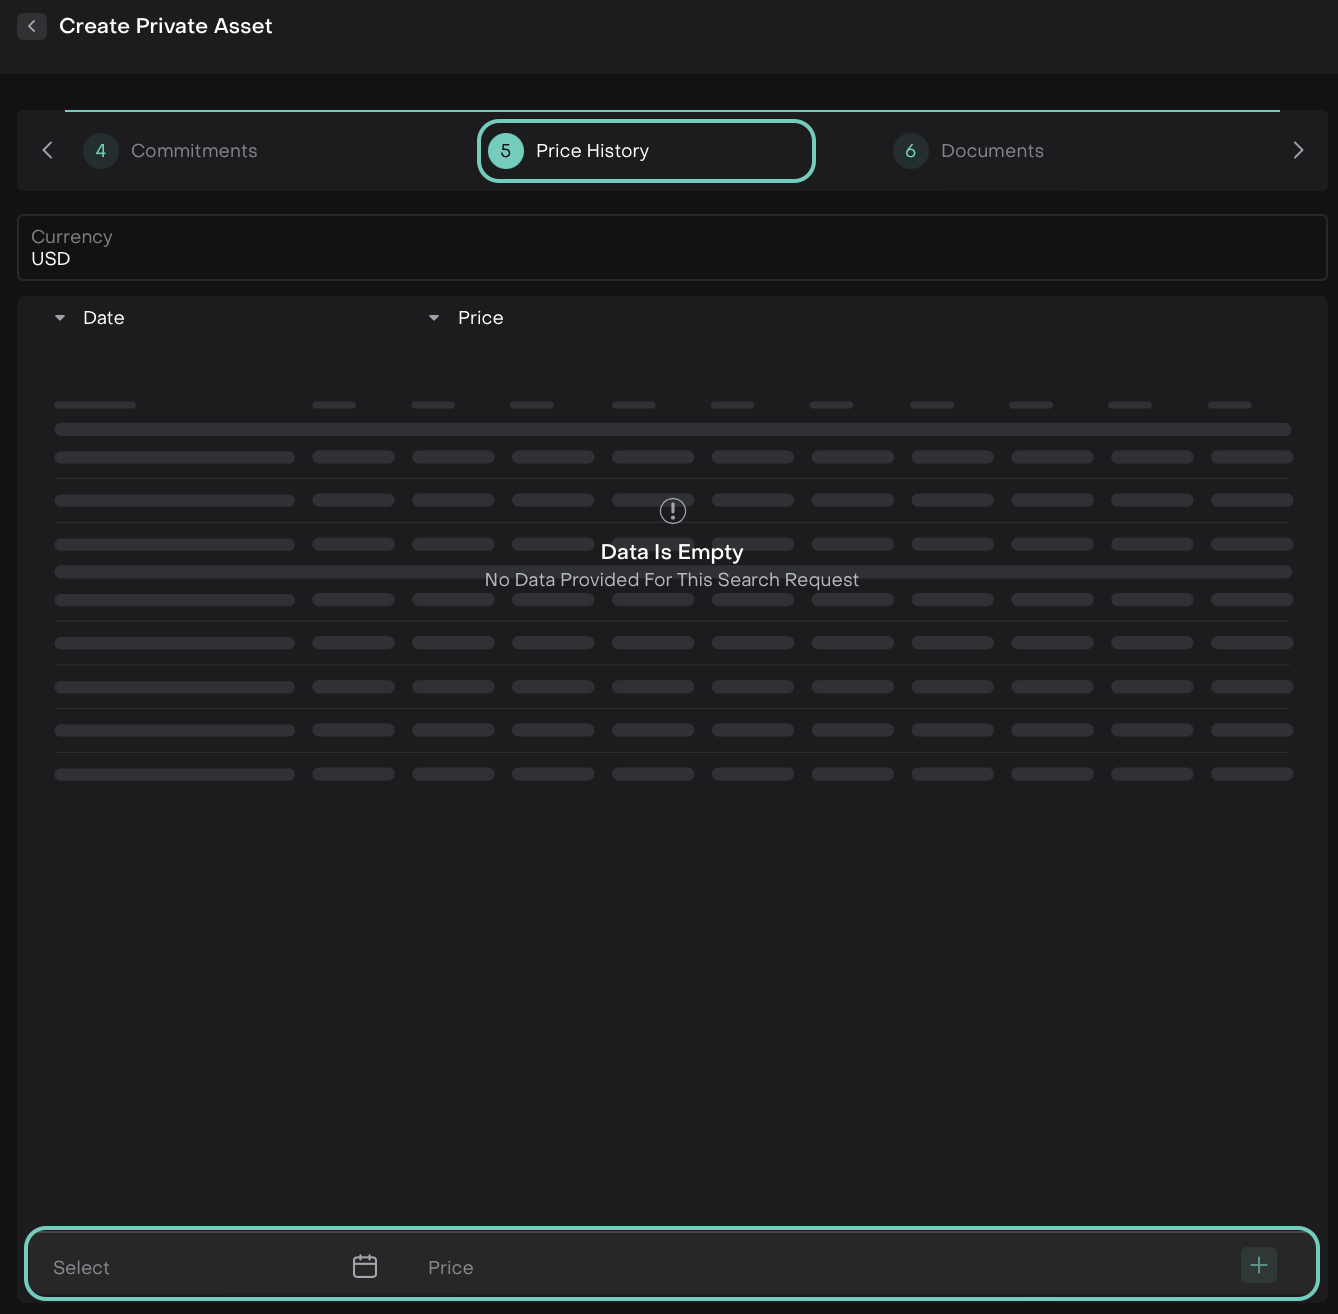
Fill in the following fields:
Date (*) – select the date for the valuation
Price – enter the asset’s valuation.
Only past or current dates are allowed; future dates are not permitted.
Currency – automatically set to the currency you chose in the Additional Information step; you cannot change it here.
Price field is editable.
Click the green + icon to add a new price entry.
To update the valuation, edit or to remove, click the Delete button next to it.
Click Next to proceed to the next step, or Click Close to exit without saving.
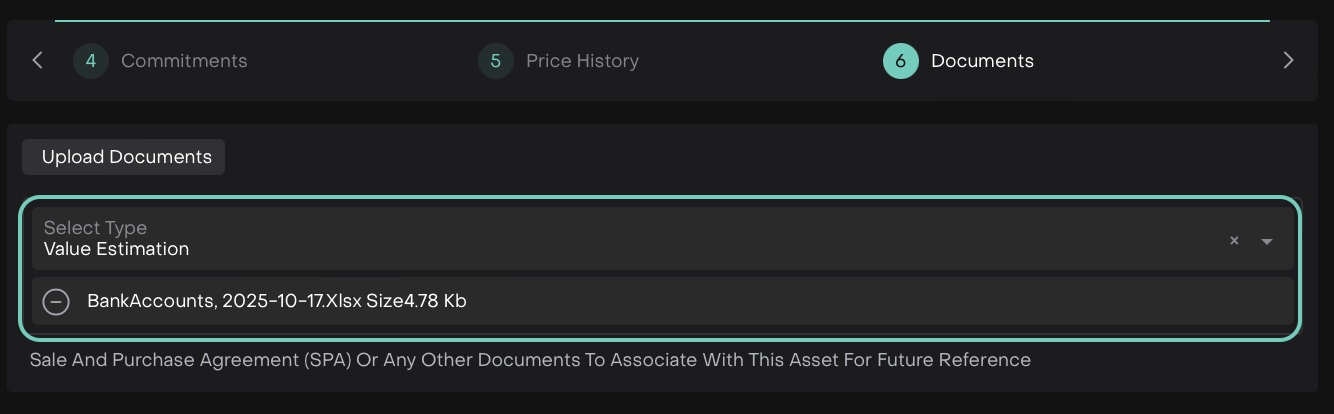
Step 6: Documents
Attach supporting documents for your Private Asset.
Click Upload Documents and link it to your asset record for easy reference.
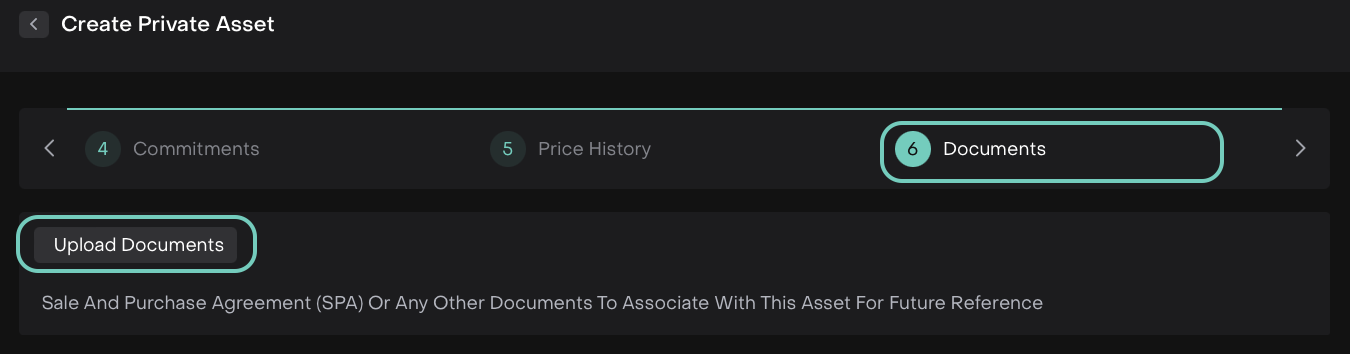
Select a document type.
Click Next to proceed to the next step, or Click Close to exit without saving.
Step 7: Choice Portfolio
This step appears only when you create a Private Asset from the Dashboard Widget.
If you create it directly from a Portfolio, the platform automatically assigns it to that portfolio.
Select the Portfolio where you want to link your Private Asset.
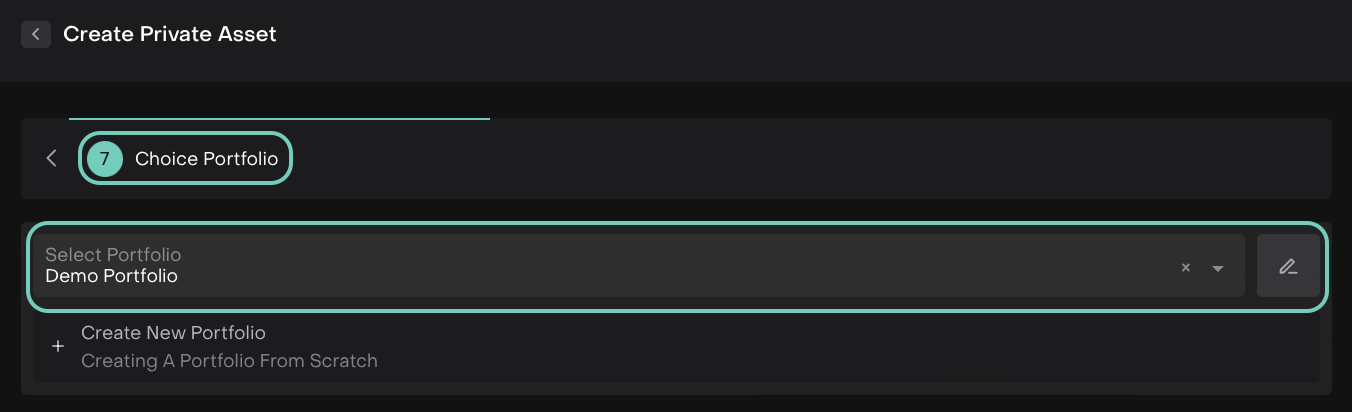
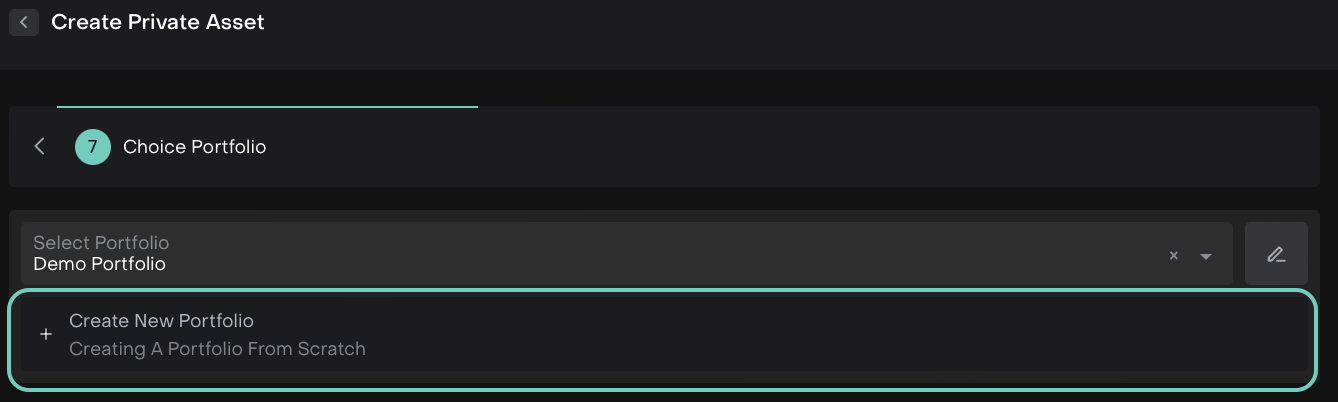
Or, create a new client portfolio by clicking Create New Portfolio.
🔗 For detailed guidance on creating and managing client portfolios, see the Client Portfolio Guide.
Click Create to save your Private Asset under the selected Portfolio and Asset Type section.
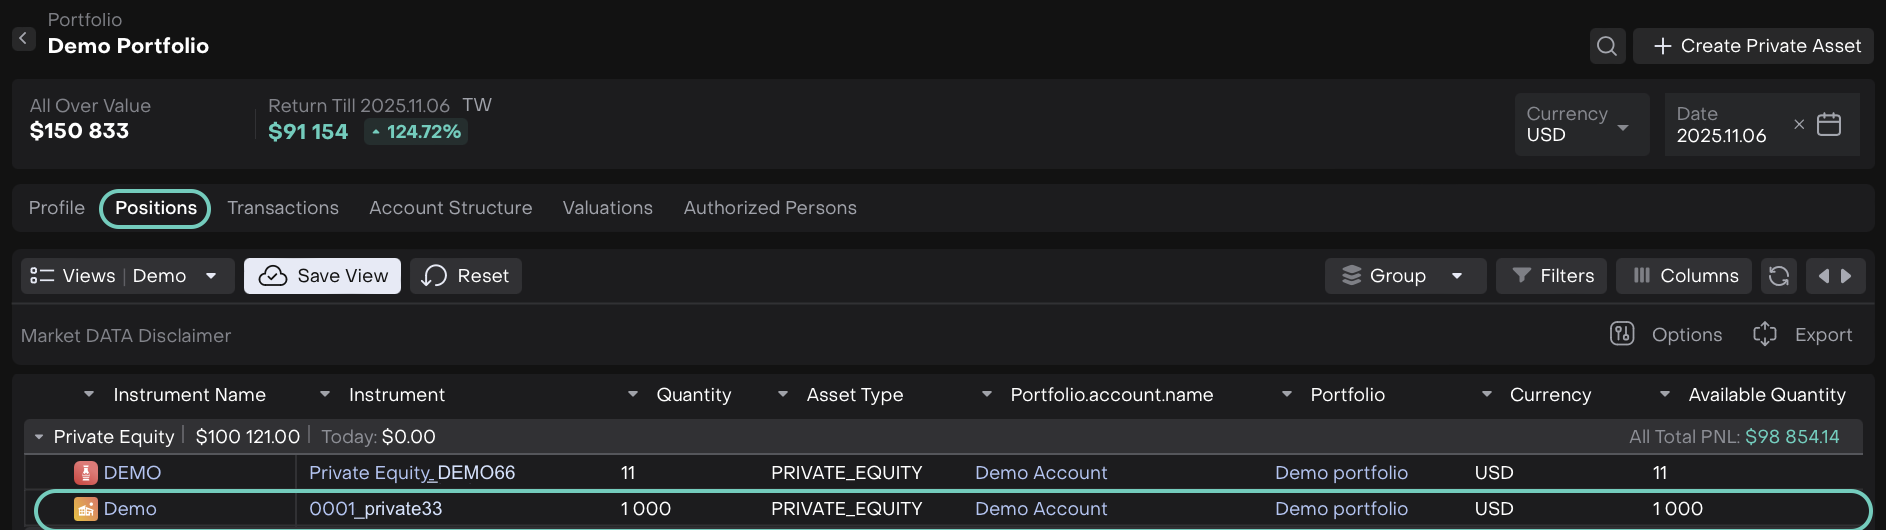
Private Equity Type
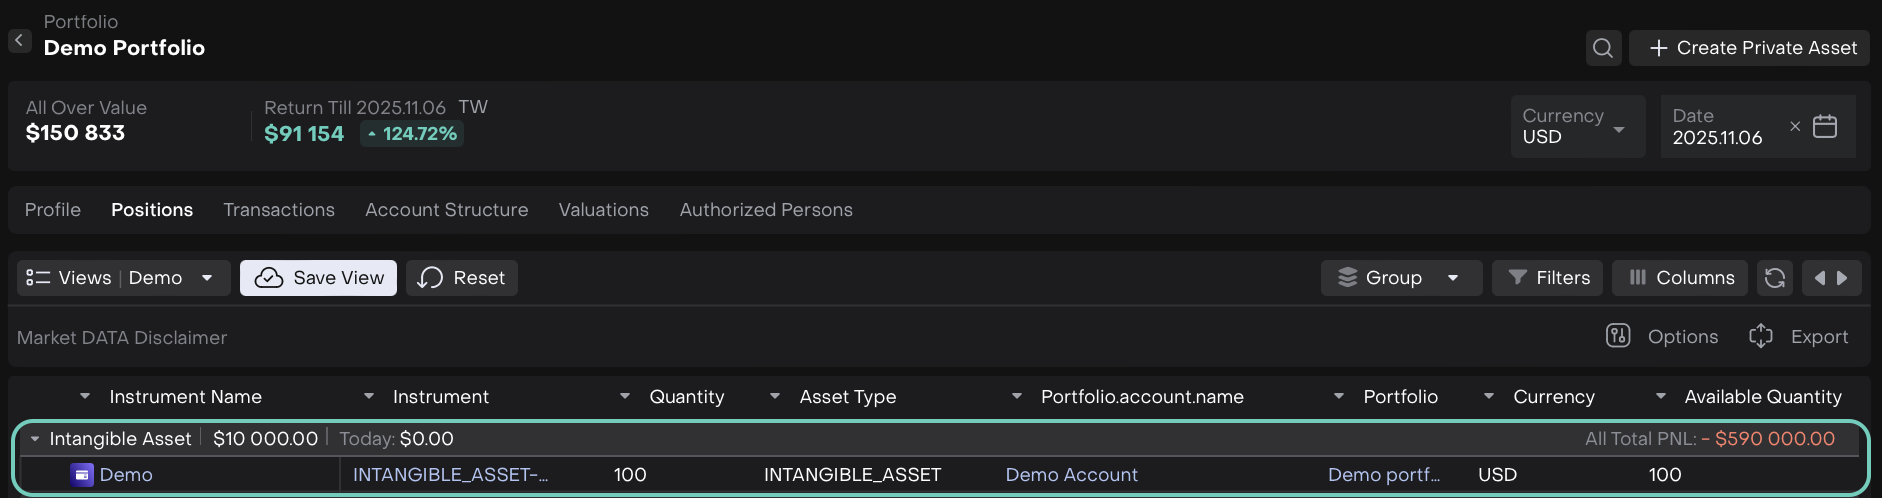
Intangible Asset Type

Tangible Asset Type
View or Edit Private Assets
To view or update an existing Private Asset:
Go to your Portfolio or the My Private Assets widget.
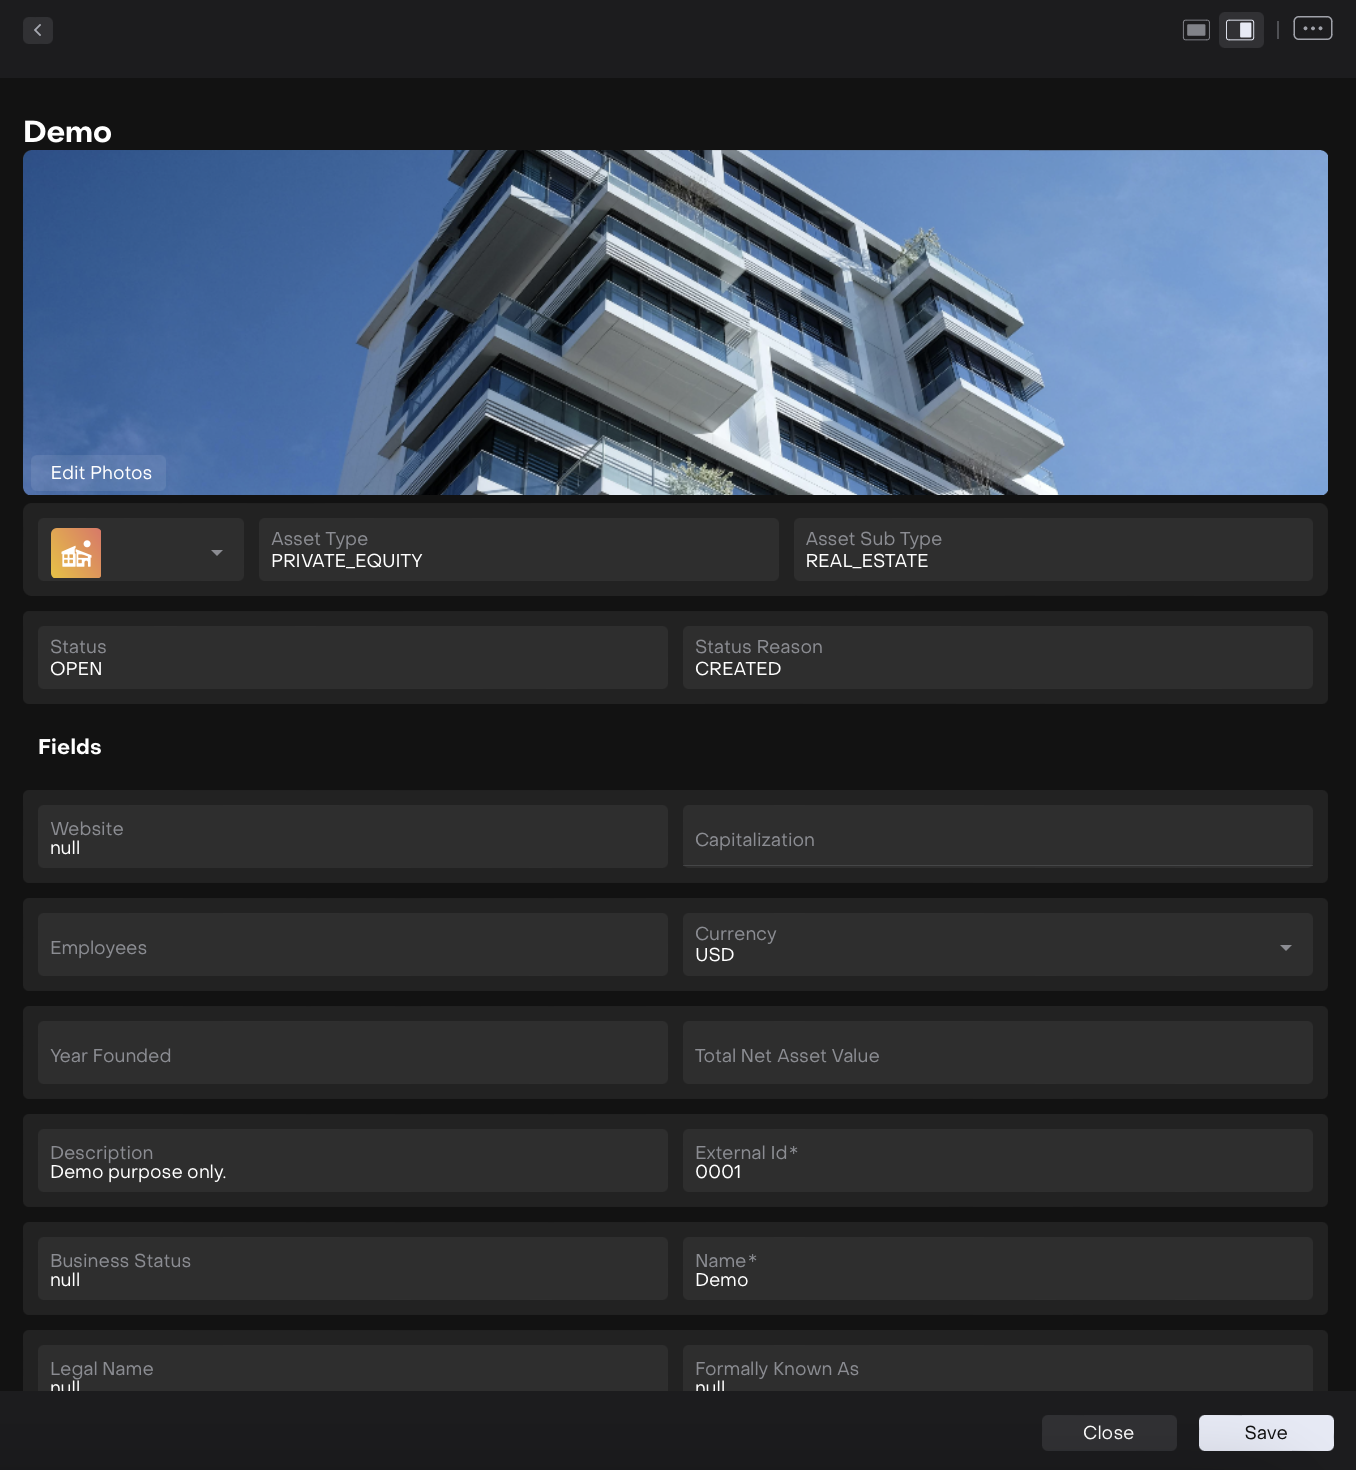
Click Edit Asset.
The edit screen opens where you can make changes.
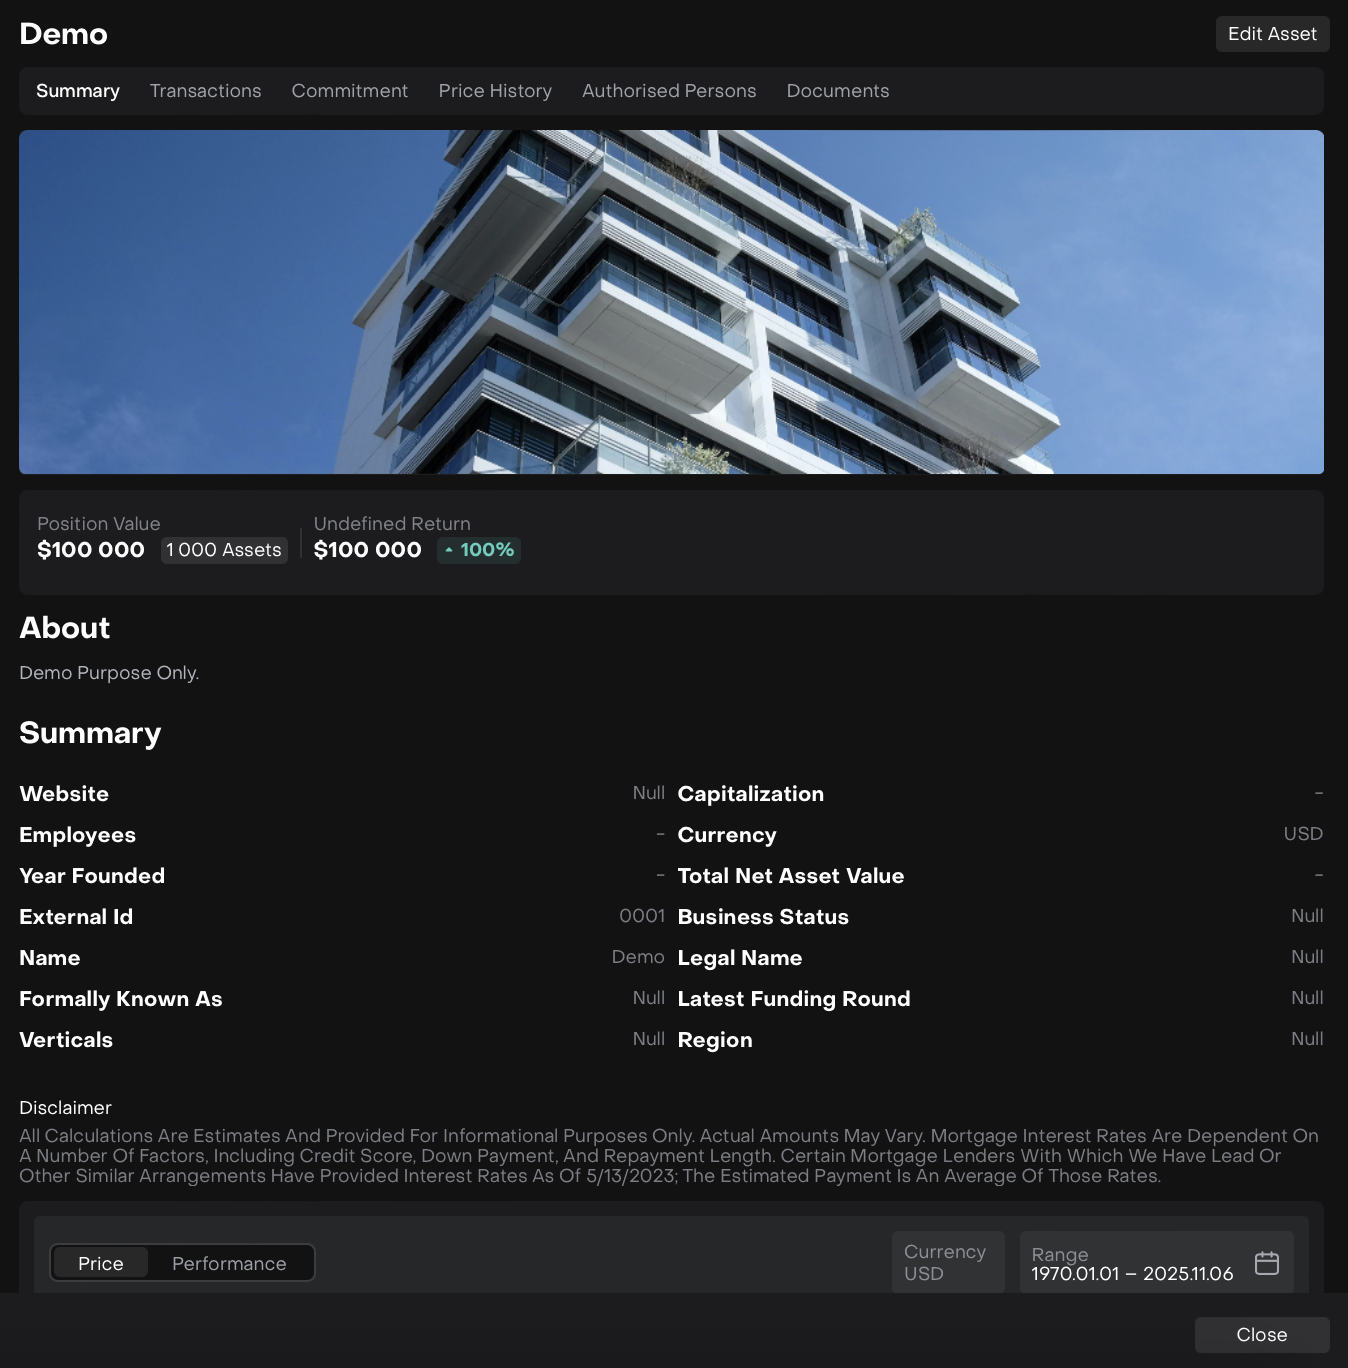
Click Save to apply updates or Close to return.
Or,
On click of it, manage related details from the sub-tabs: Commitment and Price History.
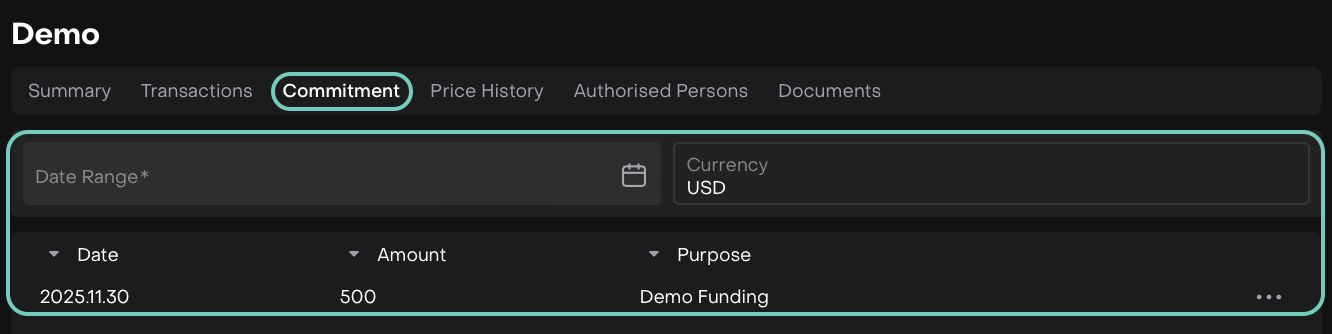
Commitment Tab
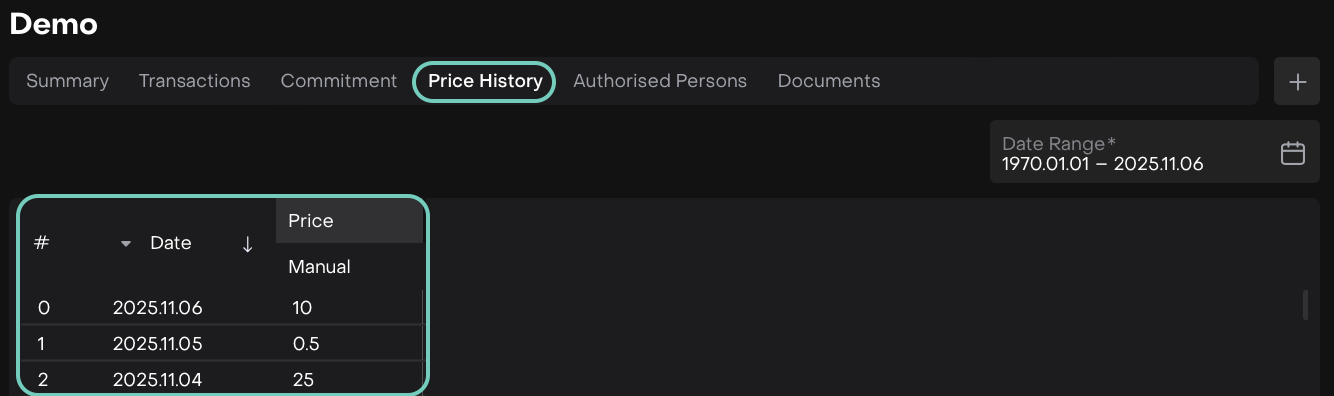
Price History Tab