
Configure Change Request Settings
Introduction
The Change Request feature helps protect data and reduce errors by requiring approvals for critical changes. With flexible settings, organizations can define who approves, what changes require approval, and when.
Key Terminologies
Term (A-Z) | Definition |
|---|---|
Action | Buttons or operations available on a Change Request, such as Approve, Reject or Cancel, depending on settings. |
Approver | The user, role, department or field assigned to review and approve a Change Request. |
Criteria | Conditions defined using Add Group or Add Setting that determine when a Change Request process will run. Multiple criteria can be combined using AND / OR logic. |
Field | Specific data element used in defining Criteria, Object Name or other Change Request settings. |
My Requests | Change Requests created by you and waiting for someone else’s approval. |
Object Name | The type of record that the Change Request will act upon. |
Subordinates’ Requests | Change Requests submitted by team members under your supervision. |
👉 New to some terms? Check out our full Platform Glossary for more.
Change Requests Widget on Dashboard
The Change Requests widget on the Dashboard lets you quickly view, track and manage your Change Requests. It provides an at-a-glance overview of:
Requests pending your approval
Your own requests
Requests submitted by your team members
To use the widget:
Go to the Dashboard.
If the widget is not visible, enable the Change Requests widget.
🔗 Learn more here on how to manage Widgets on the platform.
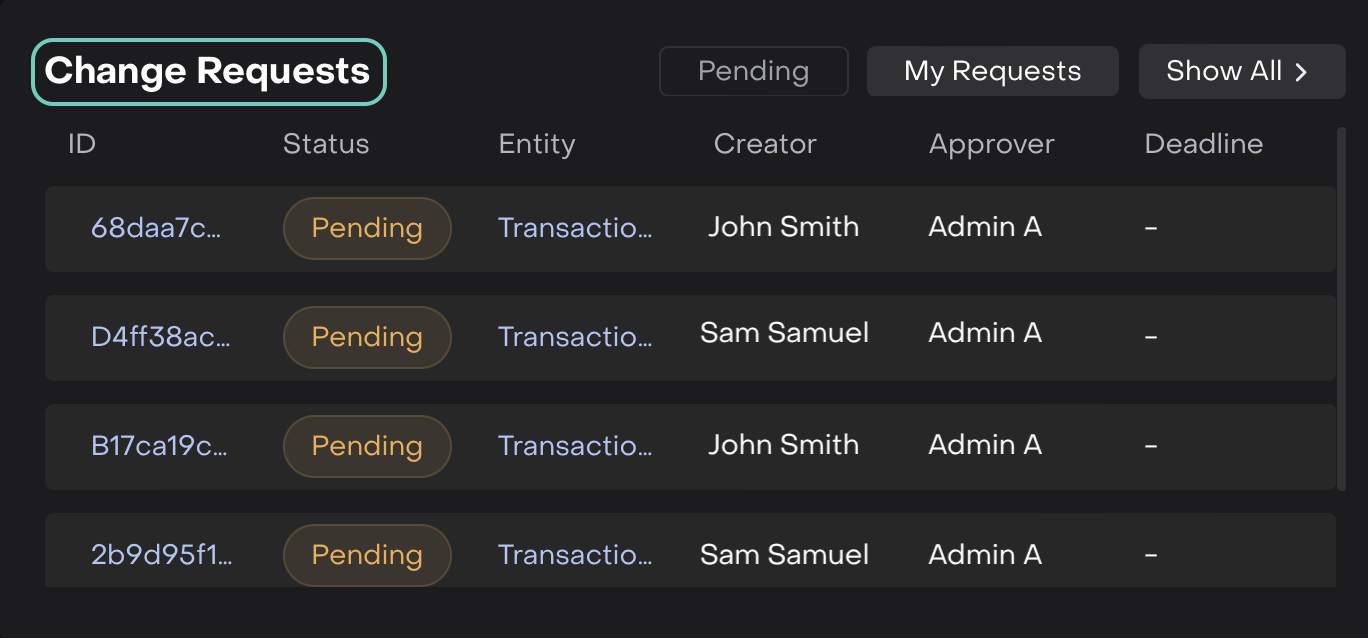
Dashboard Widget: Change Requests
On click of 'Show All' it redirects to Personal Settings > Change Requests
Create a New Change Request
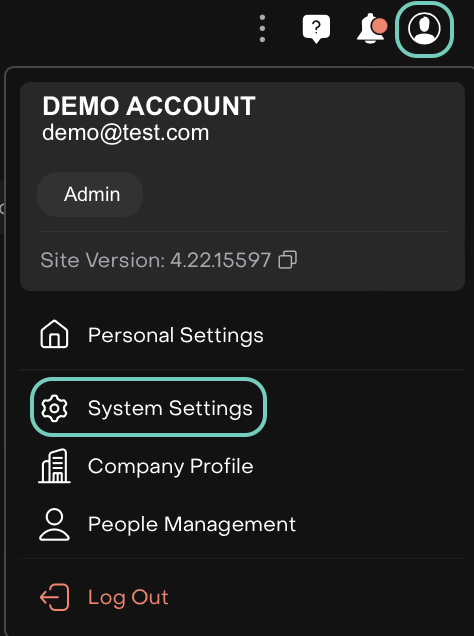
Click on User Profile > Go to System Settings.
Find and select Change Requests tab.
Click the
+icon located on the right side of the Change request page or double click on existing Change request.

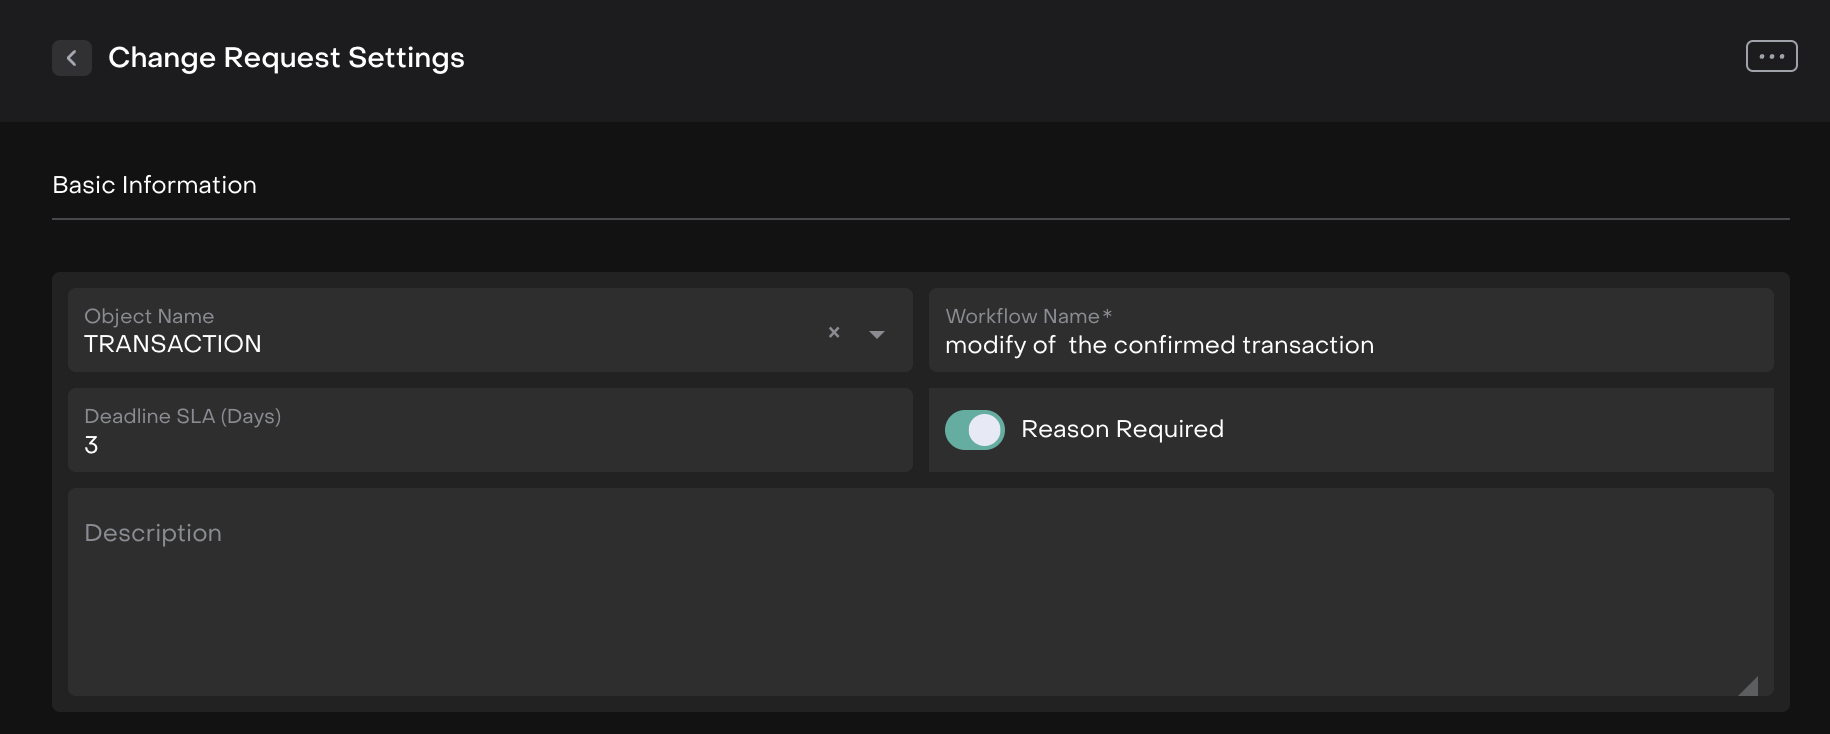
A form opens, add Basic Information and fill in all the required fields(*).
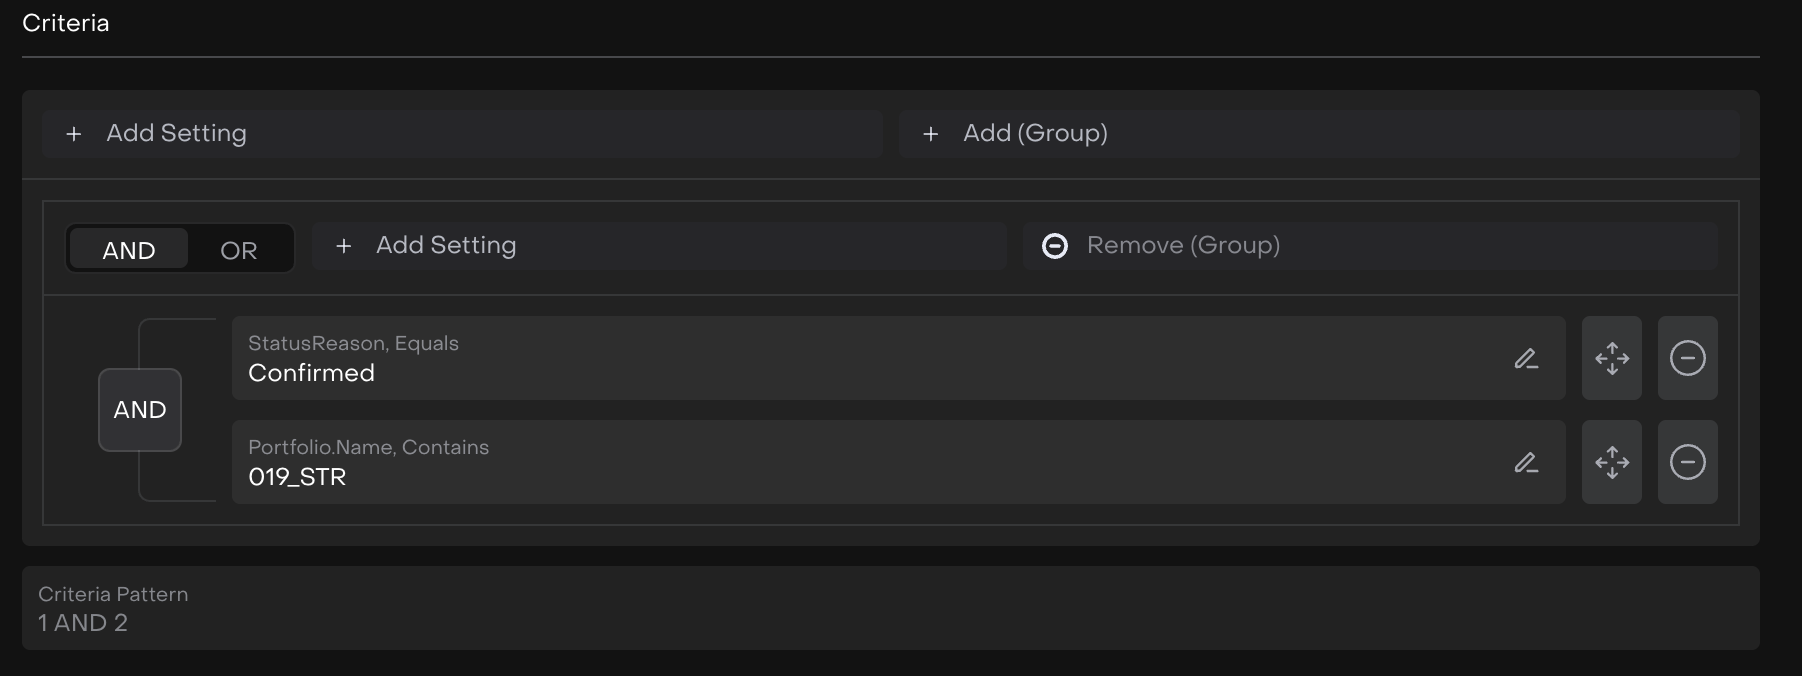
Add Criteria(s) to your Change Request.
🔗 Learn more here on how to setup Criteria Options.
Add a Reject Action that allows you to define an action that will be automatically triggered when a Change Request is rejected.
How to set it up:
Click on Set Action.

Select Field and Value (*) from the list that will determine the action to be triggered upon rejection.
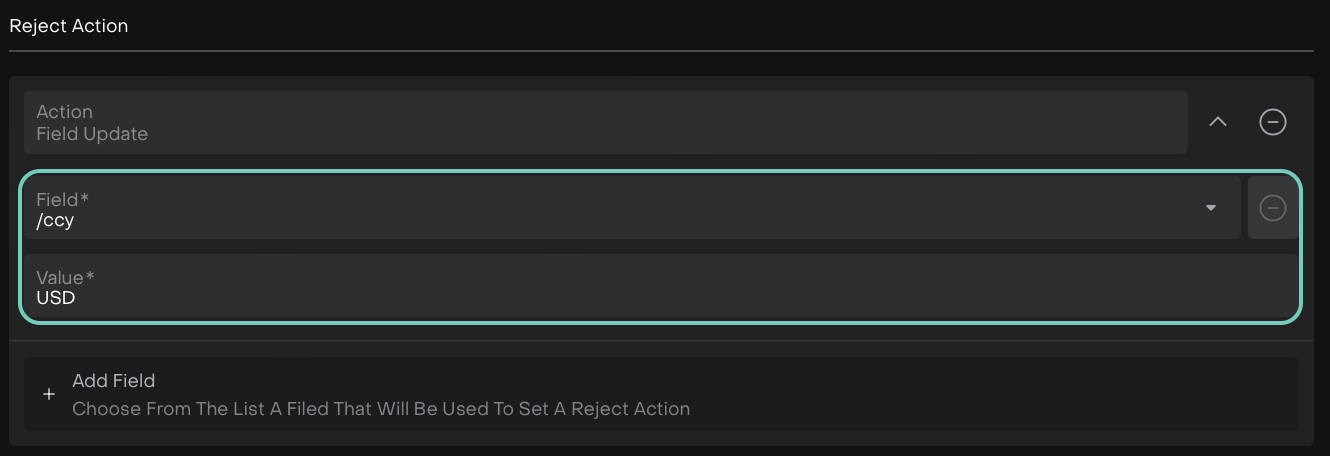
This is optional and only required if your workflow needs a specific action to occur automatically when a request is rejected.
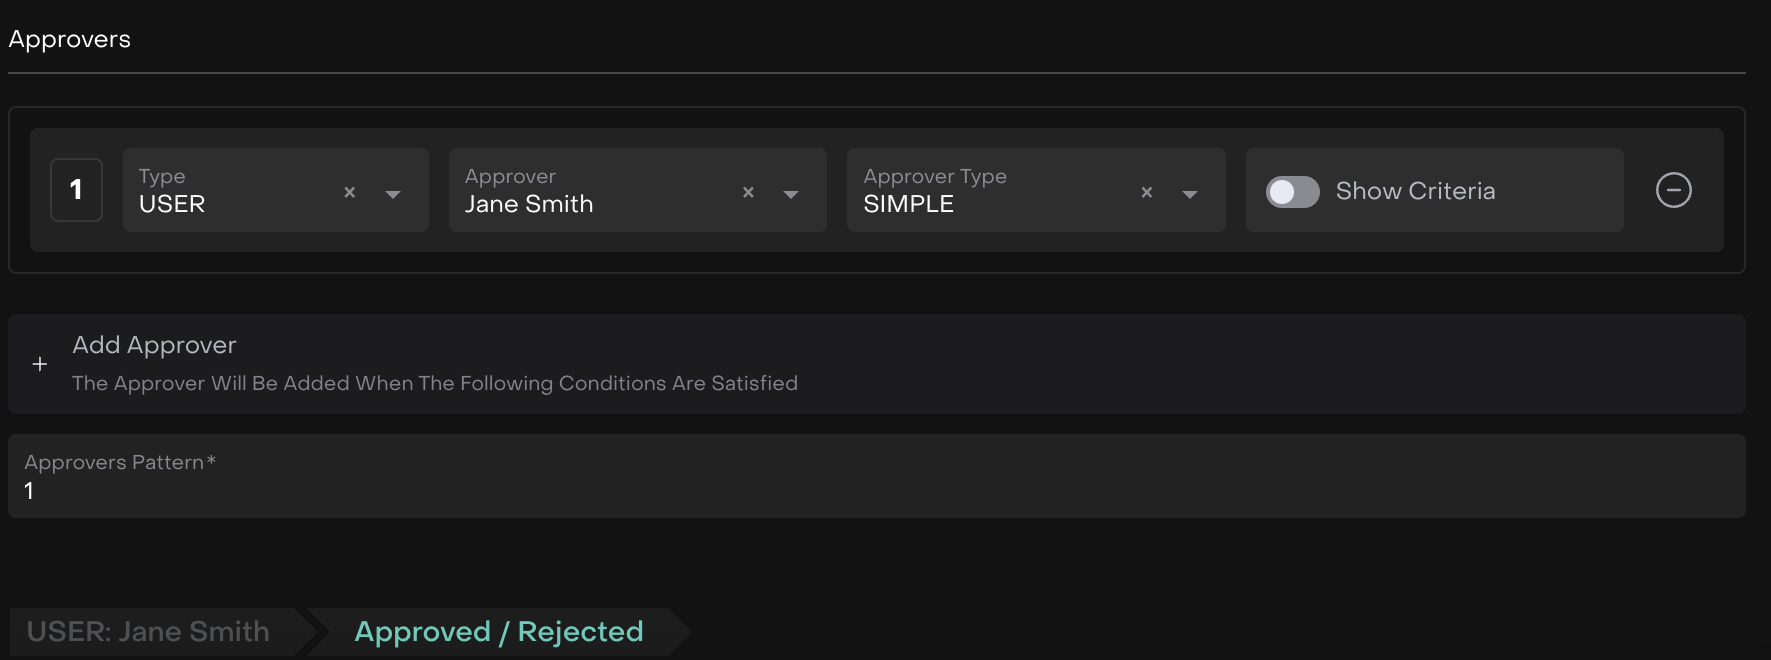
Then, click on Add Approvers and set up list of Approvers.

Enter the Approvers Pattern(*) using numbers only to define the approval sequence (e.g.,
1, 2, 3).The number indicates the order in which each approver will act.
Example:
1→ first approver,2→ second approver and so on.
Field | Description |
|---|---|
Type | Type of approver (User, Department, Role, Field)
|
Approver | Approver of Change request |
Approver Type | Simple or SMS |
Show Criteria (Toggle Button) | Complex setting for approvers selection 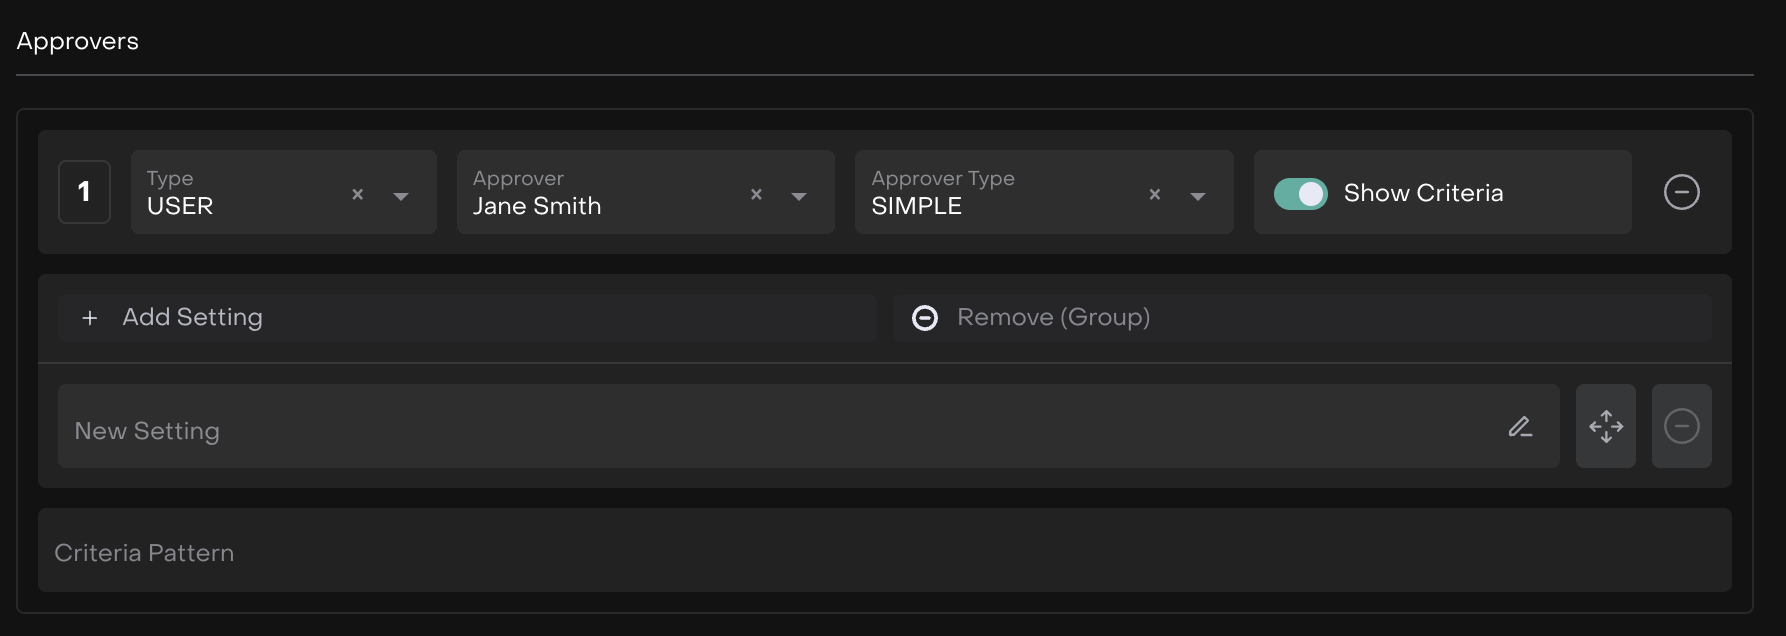 |
Click Save once done. The entry will now appear in the list with the status toggle button to activate or deactivate it.

Track Personal and Subordinates’ Change Requests
Go to Personal Settings.
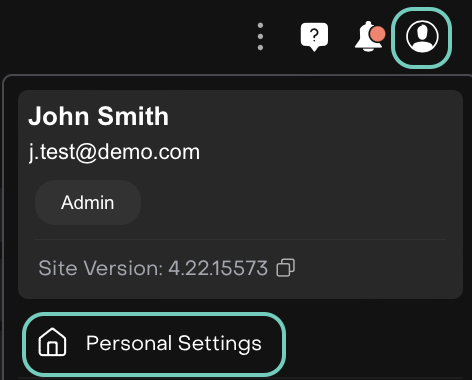
Find Change Requests tab.

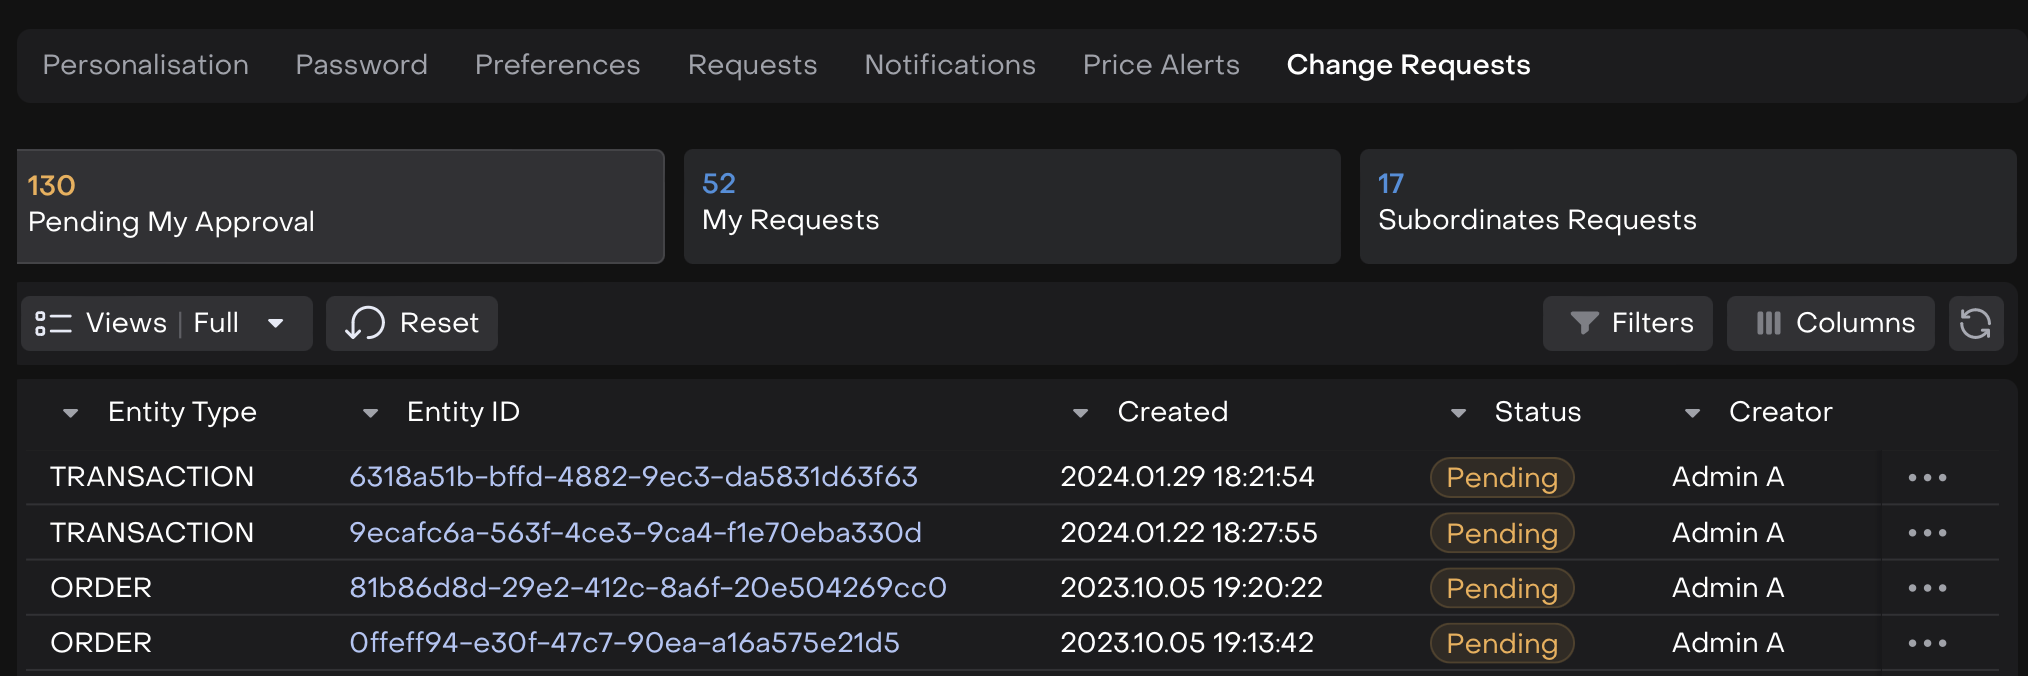
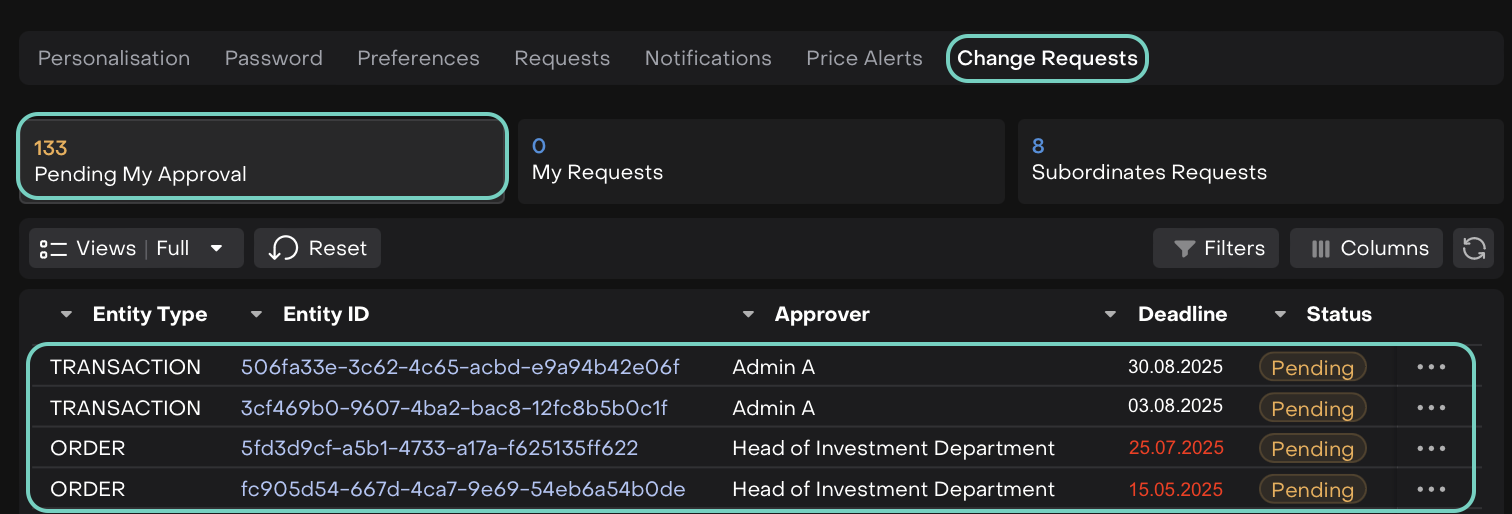
Track requests in three categories:
Pending My Approval – requests that require your action.
My Requests – requests you created, waiting for someone else’s approval.
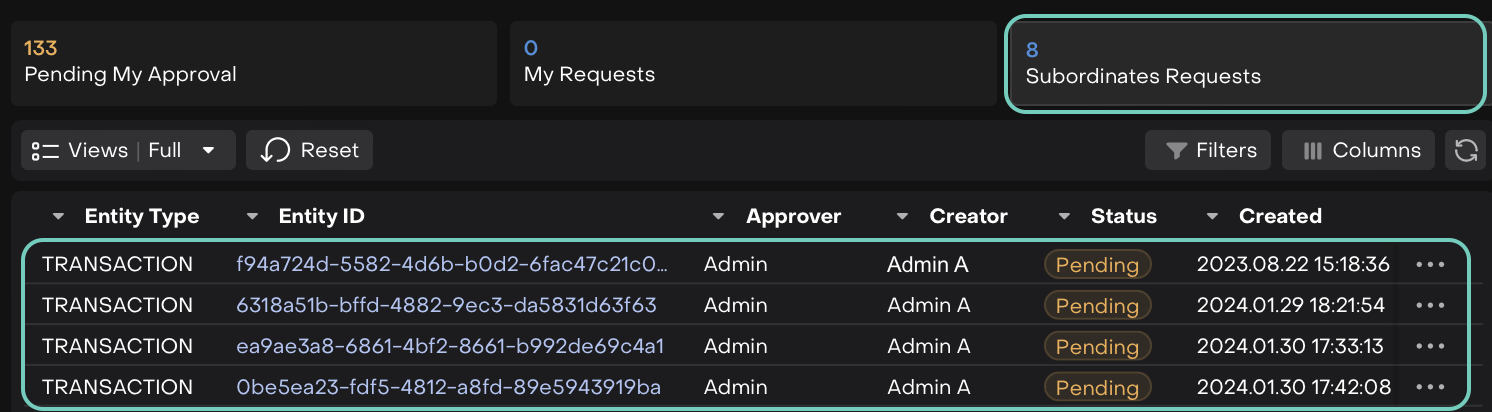
Subordinates’ Requests – requests submitted by your team members.
Double-click a Change Request to view its details and available actions.
Review a Change Request
When opening a Change Request, you will see:
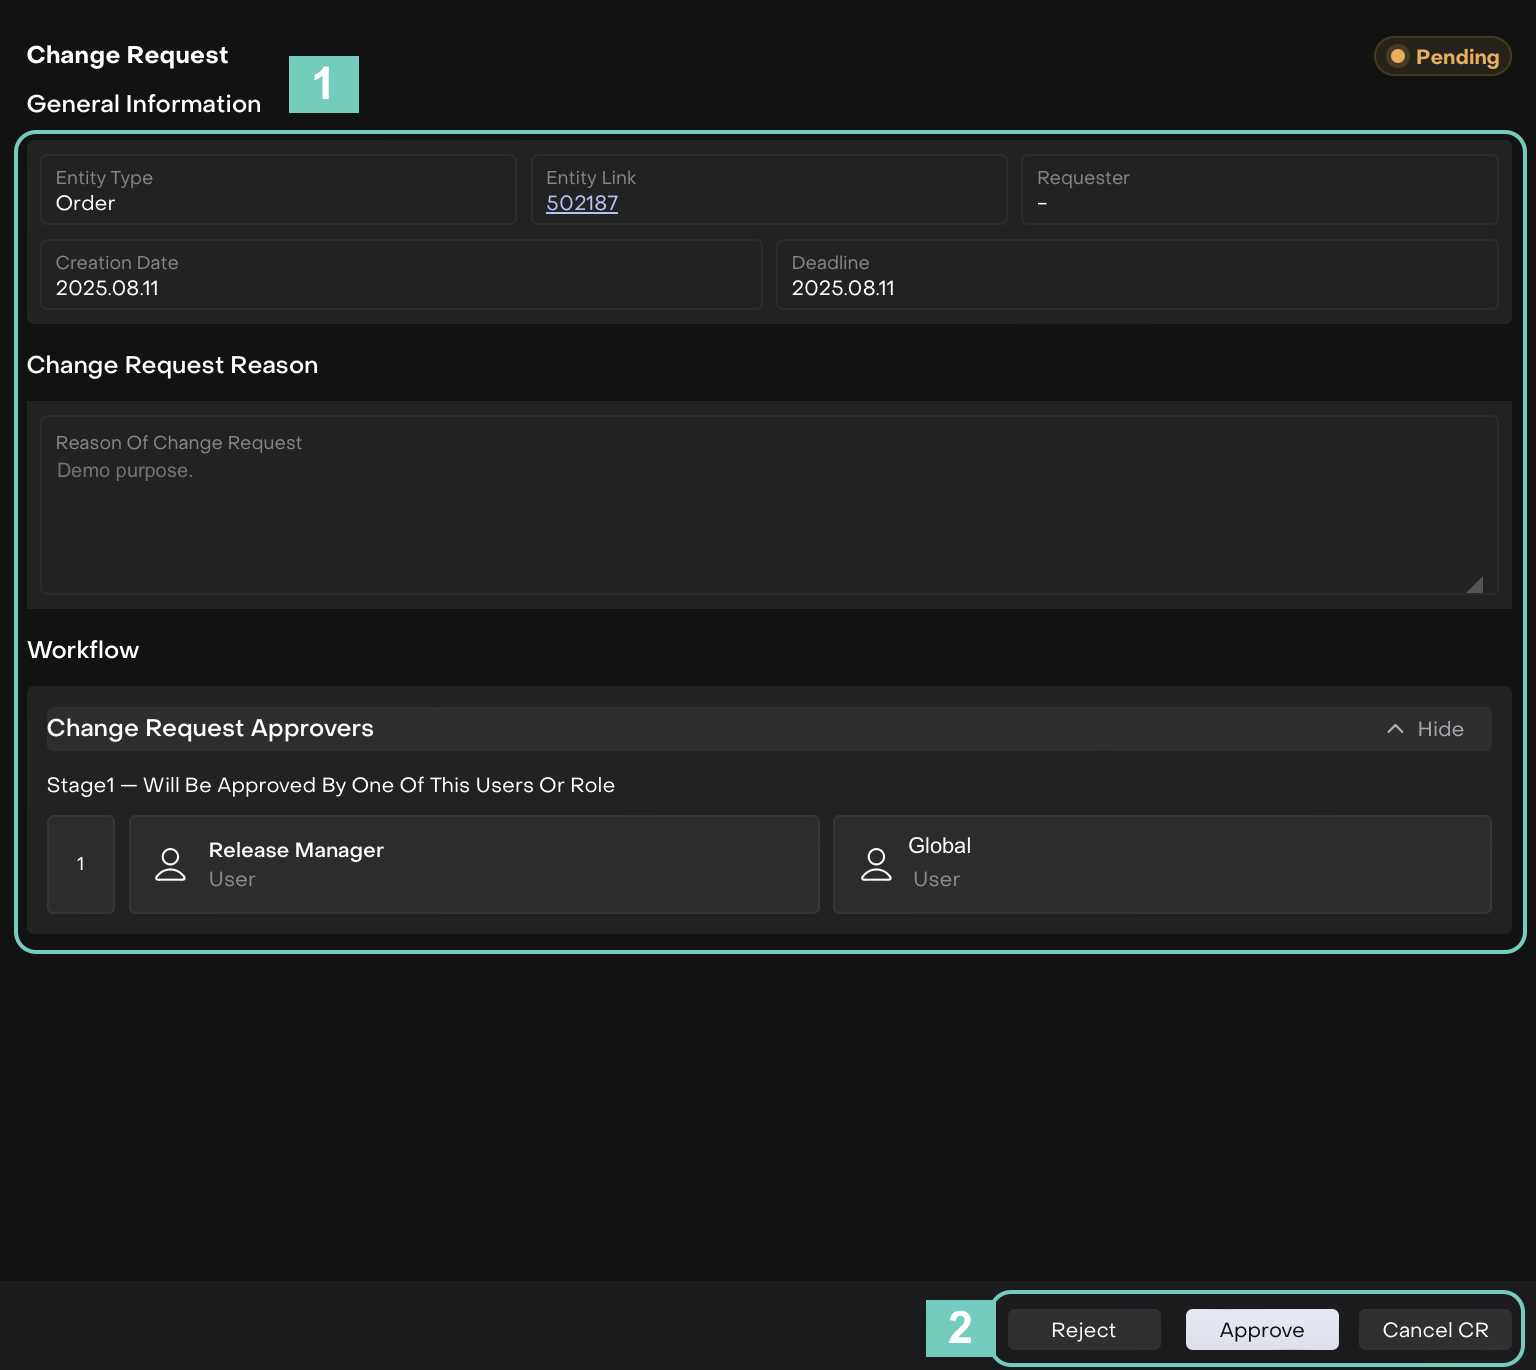
Block 1
General Information – details about the request (entity type, ID, requester, etc.).
Change Request Reason – the explanation provided for the change.
Workflow – the list of approvers and their roles.
Block 2
Actions – buttons to Approve, Reject or Cancel the request (depending on Change Request settings).