
Manage Client Requests
AVAILABLE IN: 

Introduction
Opportunities are key to tracking business engagements with clients. Among them, a Client Request Management represents a specific client-initiated request for service.
The Client Request Management feature allows you to efficiently track, review and process various client requests within the platform. These requests may include account modifications, portfolio adjustments, document submissions, or service-related inquiries.
This process typically involves:
Receiving and Logging Requests – Clients submit requests via the Platform or through support channels.
Review & Validation – Administrators verify the request details, ensuring accuracy and compliance.
Approval Workflow – Requests may go through an approval process based on role-based permissions.
Processing the Request – Once approved, the necessary actions are performed.
Status Tracking & Communication – Clients receive real-time updates on request progress.
Key Terminologies
Term | Definition |
|---|---|
Client Request | A formal instruction or inquiry submitted by the client, typically via the platform, requesting an action such as order placement, cash movement, document upload or profile update. These requests are tracked within the platform to ensure proper handling, approval and execution. |
EMA (External Managed Account) | A bank account opened in the client’s name where the company is granted access to manage the account on the client’s behalf. The client retains access through the bank’s personal banking interface and can view and operate the account independently if needed. |
IMA (Internal Managed Account) | A sub-account created under the company's omnibus account, dedicated to the client. The client has no direct access to the account or the bank’s interface. All operations and management are performed solely by the company through the platform. |
👉 New to some terms? Check out our full Platform Glossary for more.
Permission Requirement
Permission ID | Who can Initiate? | Permission Level |
|---|---|---|
Accounts | Admin | View, Modify, Skip CR, Create, Delete |
Opportunities | Manager, Client | View, Modify, Skip CR, Create, Delete |
Click here to view more about profile configuration.
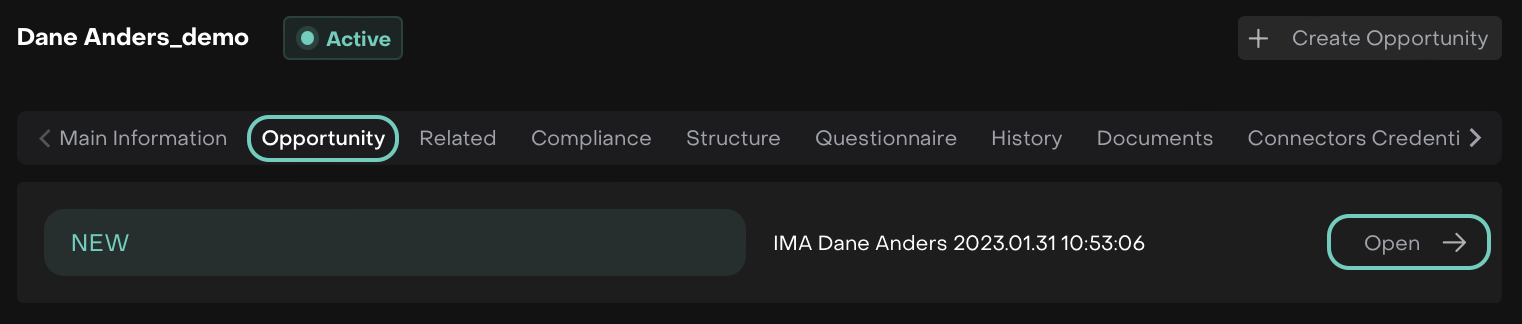
How to Create an Opportunity
Ensure the client’s Account is already created in the Platform.
Go to Accounts on dashboard and find Opportunity tab
Then, click the + Create Opportunity button

Now, select the type of opportunity you want to create/manage: EMA, IMA or Client Request.
Or,
Simply, edit/manage the created one by clicking Open.
1. Contract Opportunity
This has two key types that differ in how the client’s account is managed:
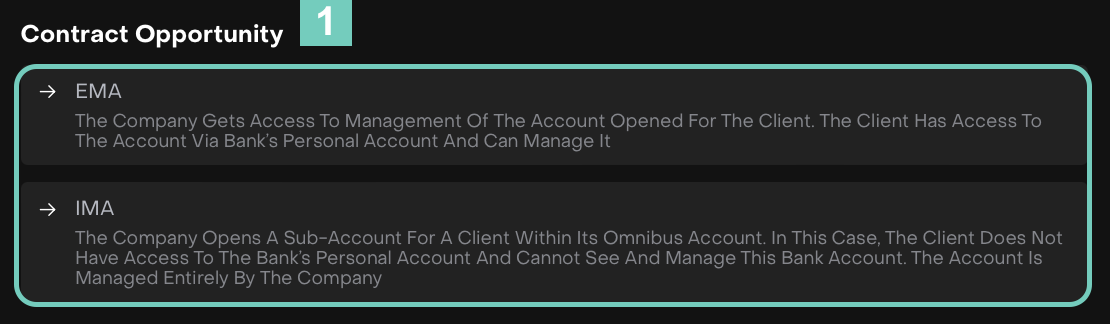
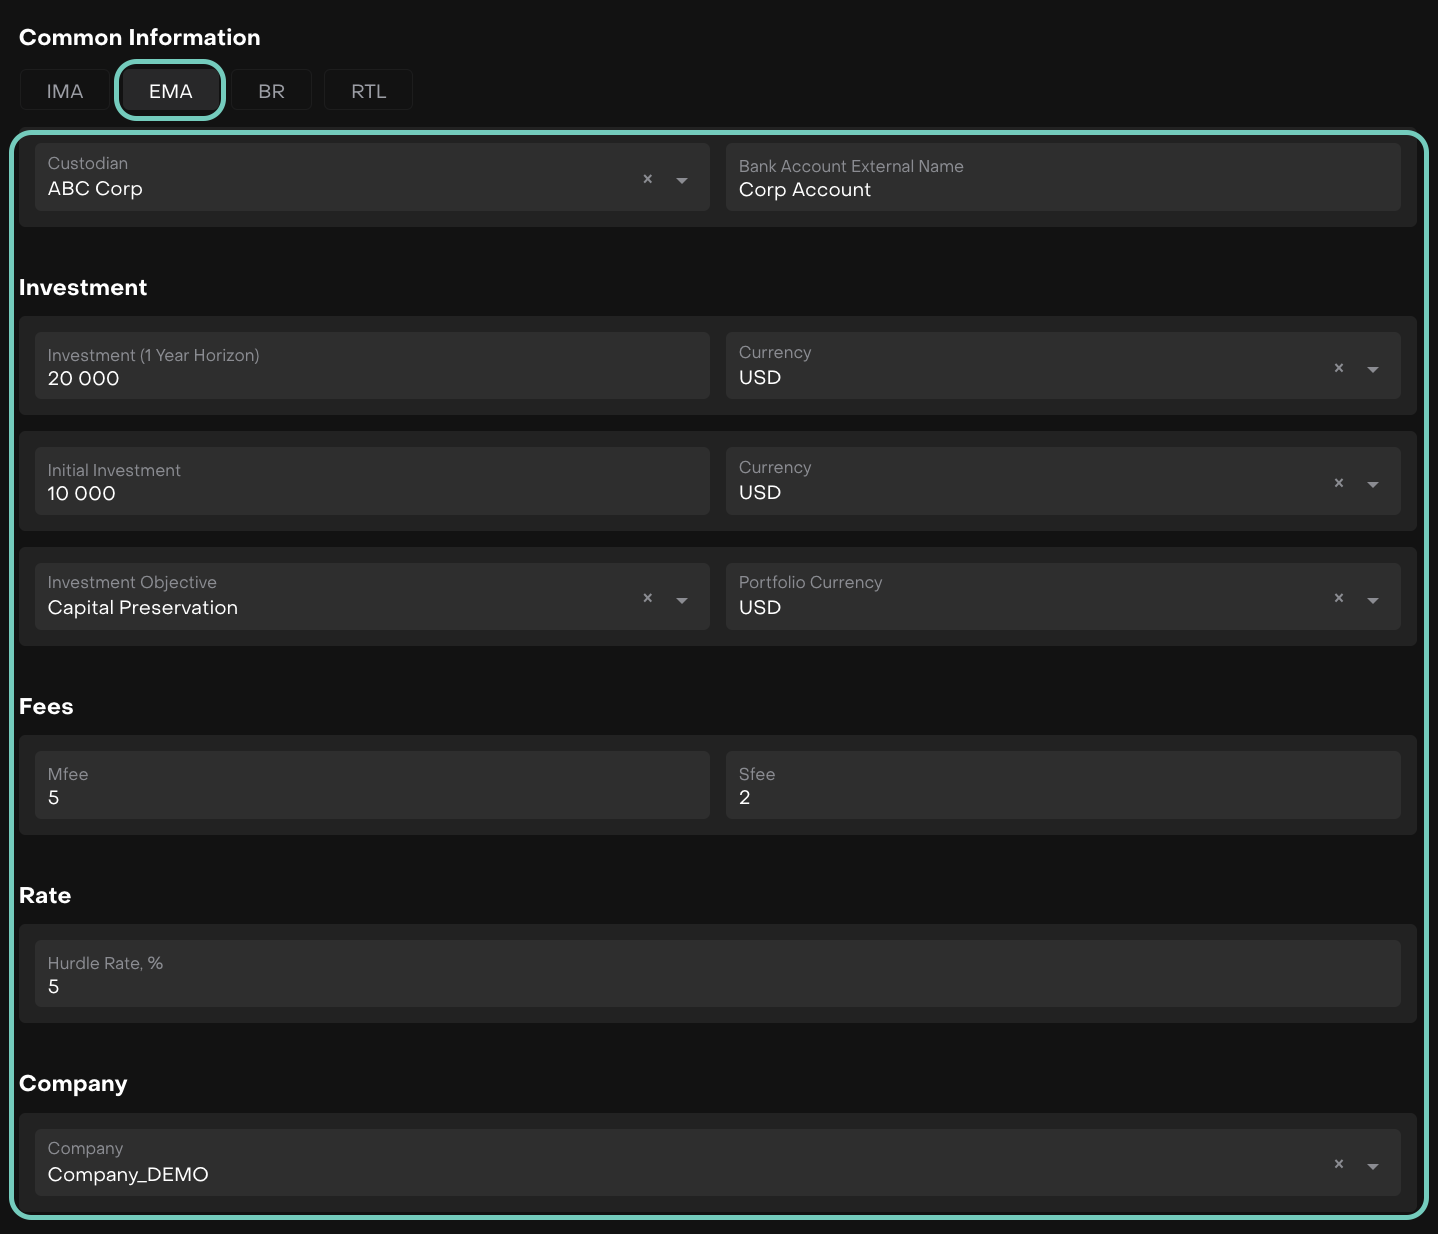
How to Create a EMA Contract Opportunity
The company manages a bank account opened specifically for the client.
The client retains direct access through their bank’s personal account.
The company has full management rights over this account.
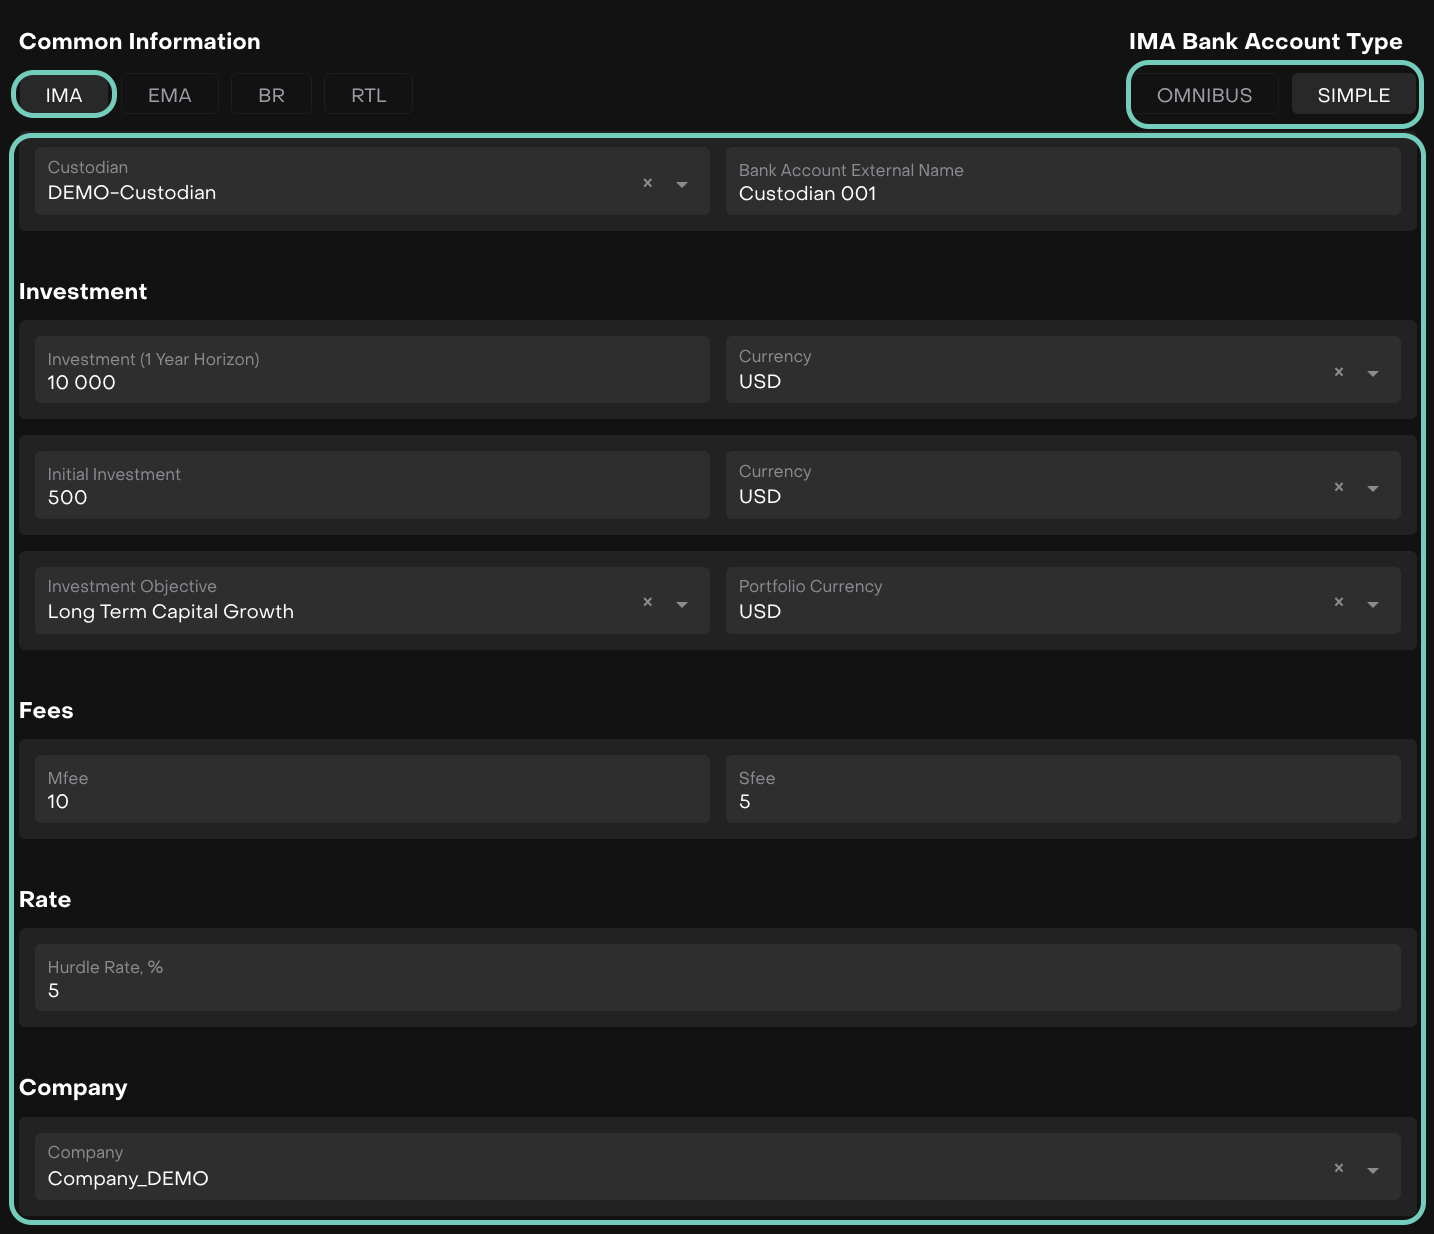
How to Create an IMA Contract Opportunity
A sub-account is created for the client within the company’s omnibus/simple account.
The client does not have access to this sub-account or visibility into it.
The company fully manages it on the client’s behalf.
2. Client Request Opportunities
This is initiated when a client asks the company to perform a service. It helps track, manage and complete client-specific service tasks efficiently.

This type of opportunity captures a specific service request made by the client.
How to Create Client Request Opportunity
To create new, choose Client Request from the opportunity types.
A form opens, fill in the required fields as shown below.
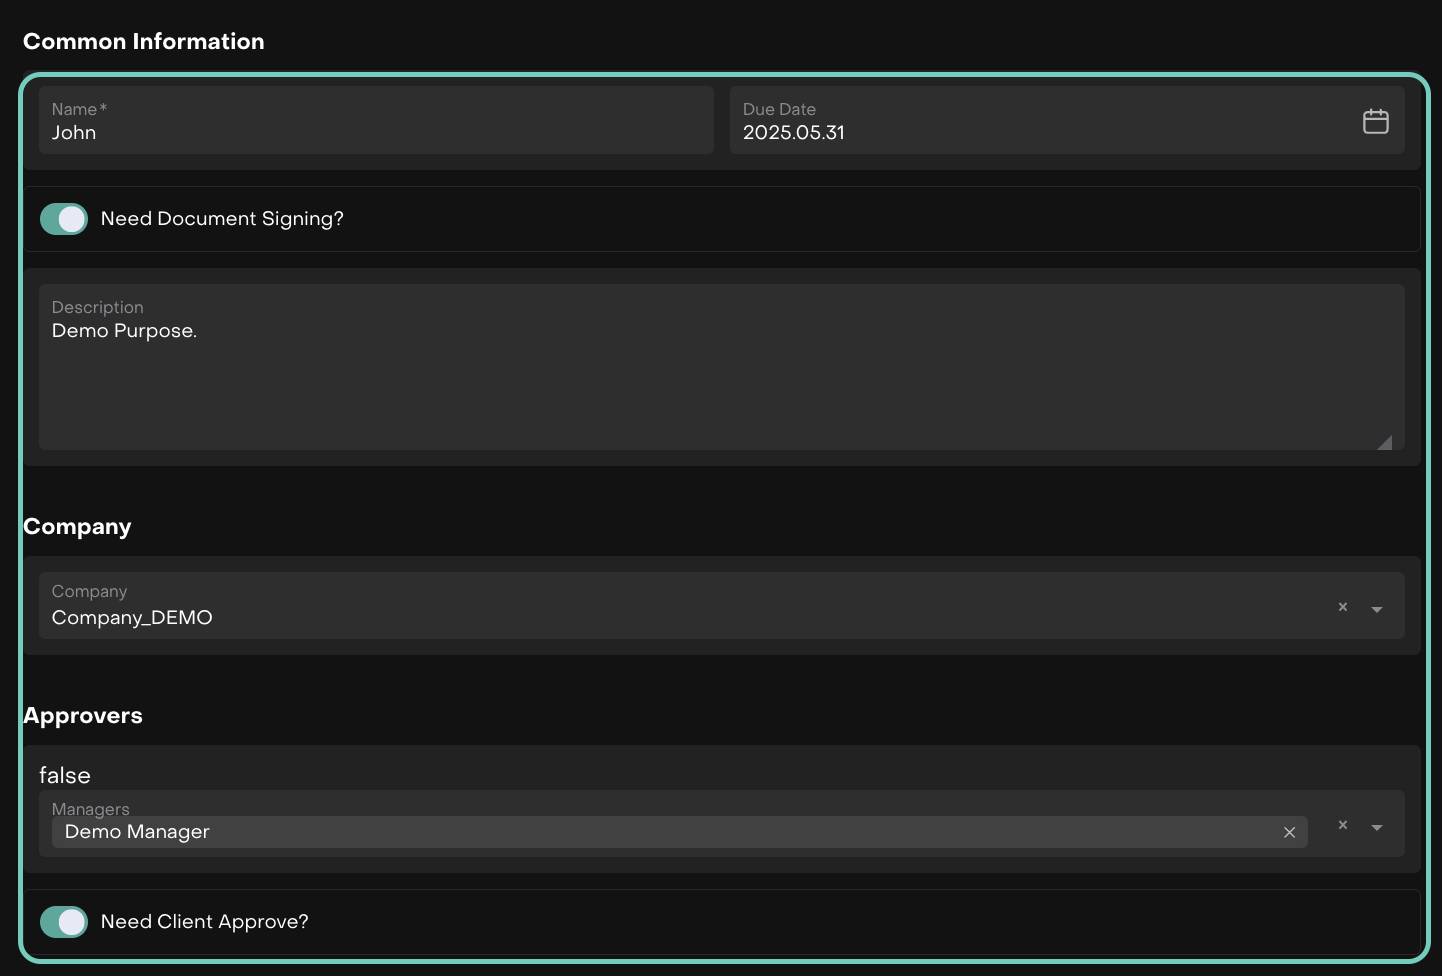
Once filled, click Save to finalize the creation.
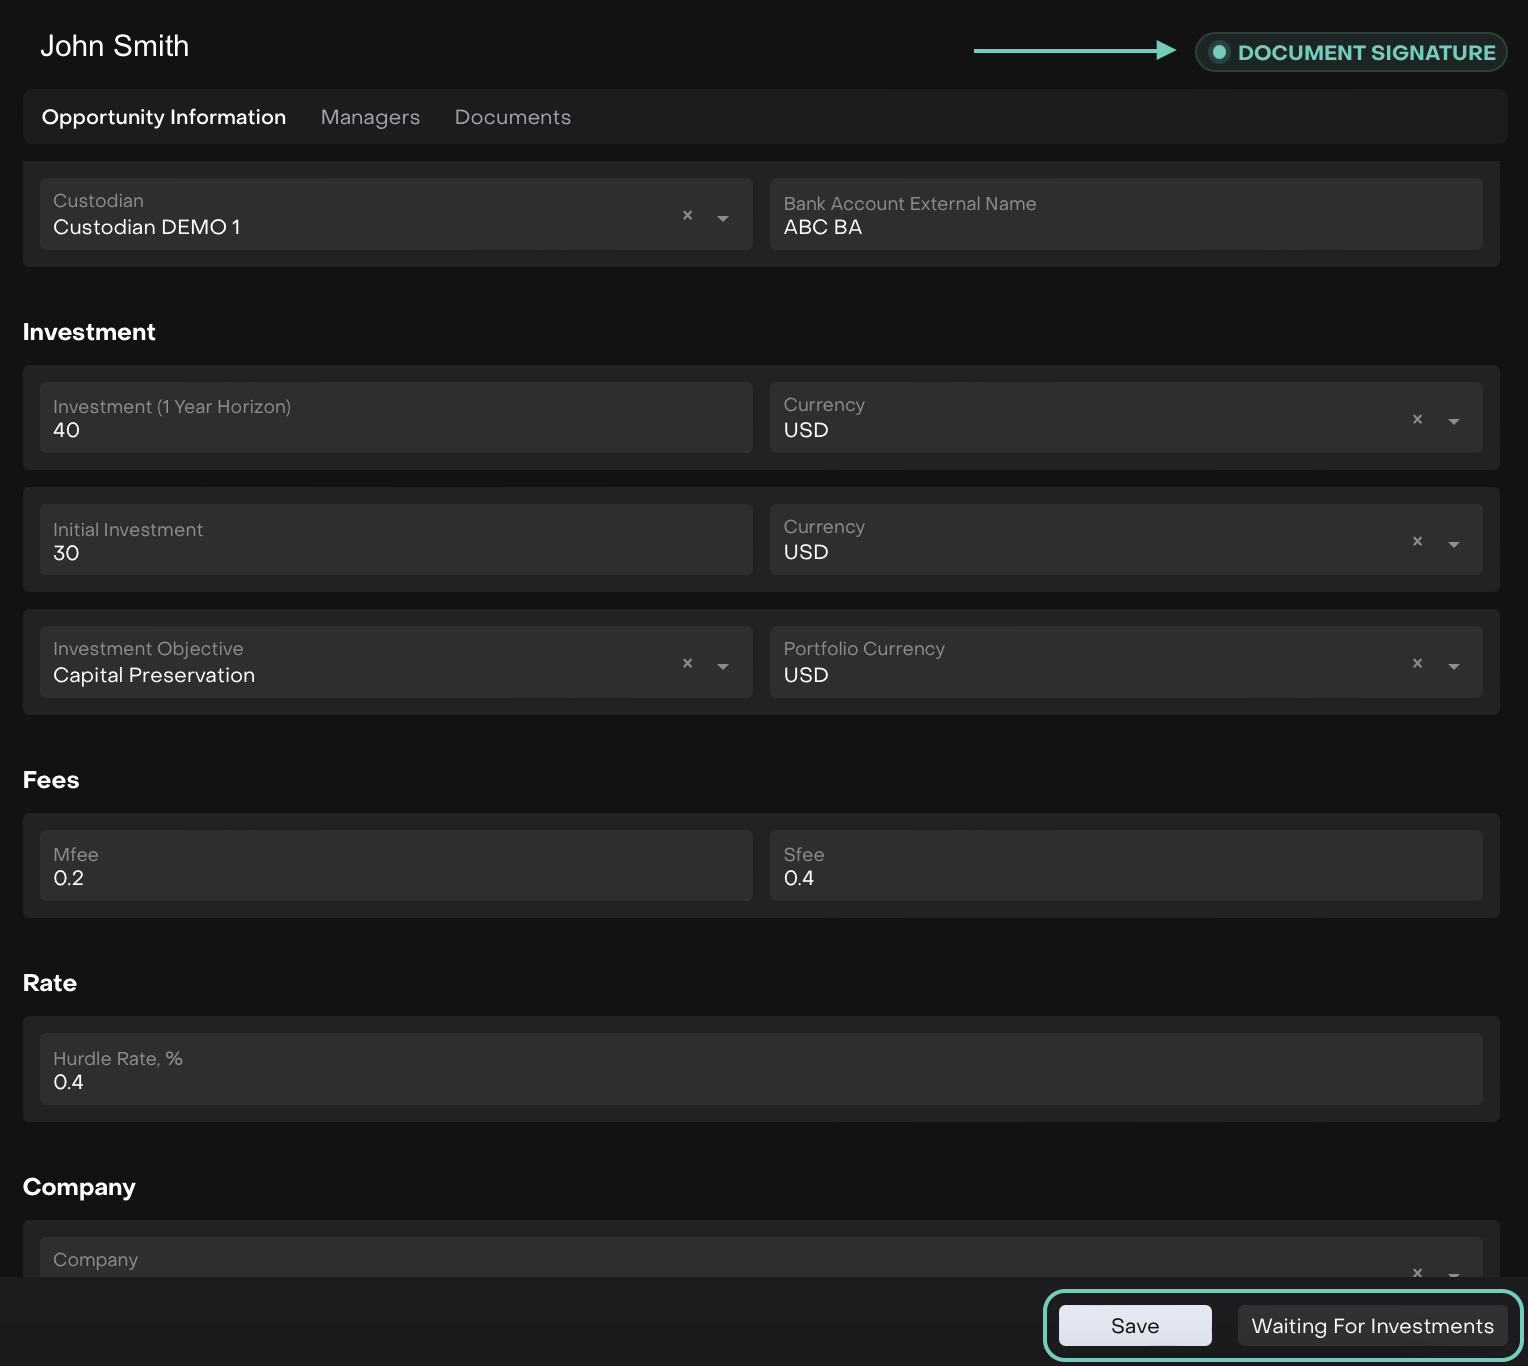
The following will show the client request status flow under these statuses.
How to Manage a Client Request
Use the status model displayed in the form to track progress.
Click on next stages to move the request forward when conditions are met.
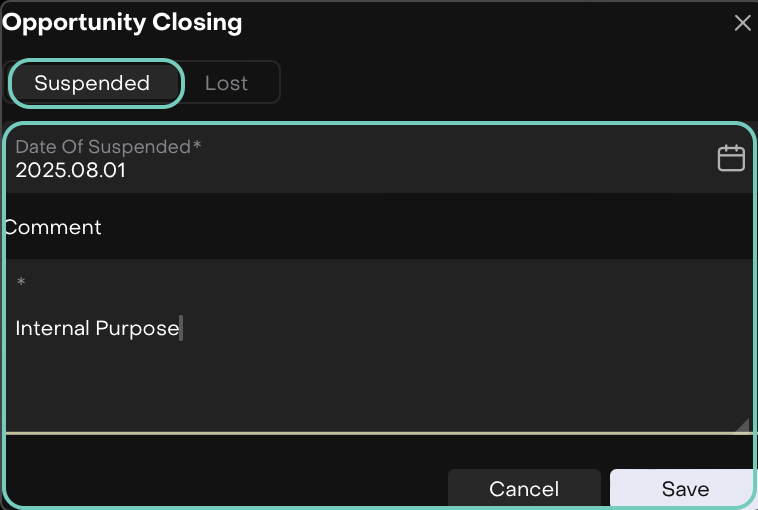
How to Close a Client Request
Suspend First (if applicable):
Click Loose or Suspend in the corner.

Select Suspended tab and fill in details for Date of Suspended (*) and Comment (*) fields.
Then, click Save to confirm or Cancel to go back.
Once saved, the following options appear.

Reopen the Request (if needed)
You can reopen a closed request if required by selecting the appropriate option from the request status controls.
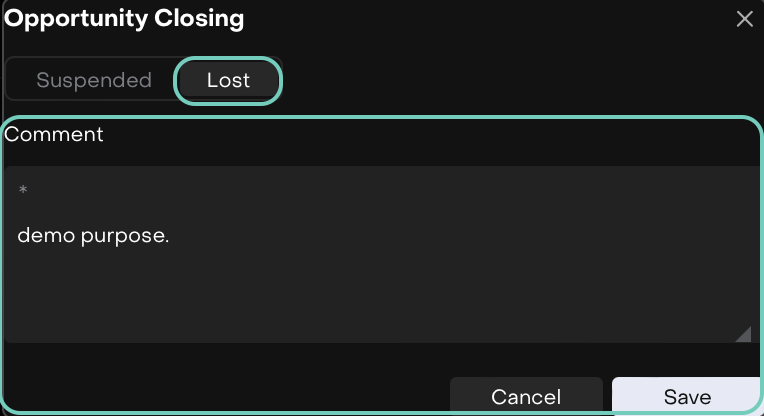
Mark as Lost (final closure):
After Suspended, click Lost tab and confirm closure.
And, fill in details such as Comment (*) field.
Then, click Save to confirm or Cancel to go back.
Can close directly from Working, Document Signature or Waiting for Investment status workflows.