Notification Templates Overview
Introduction
Notification Templates let you configure email/push alerts in the platform.
A template defines:
Who receives the alert (recipients + criteria)
When it should trigger (object + workflow + conditions)
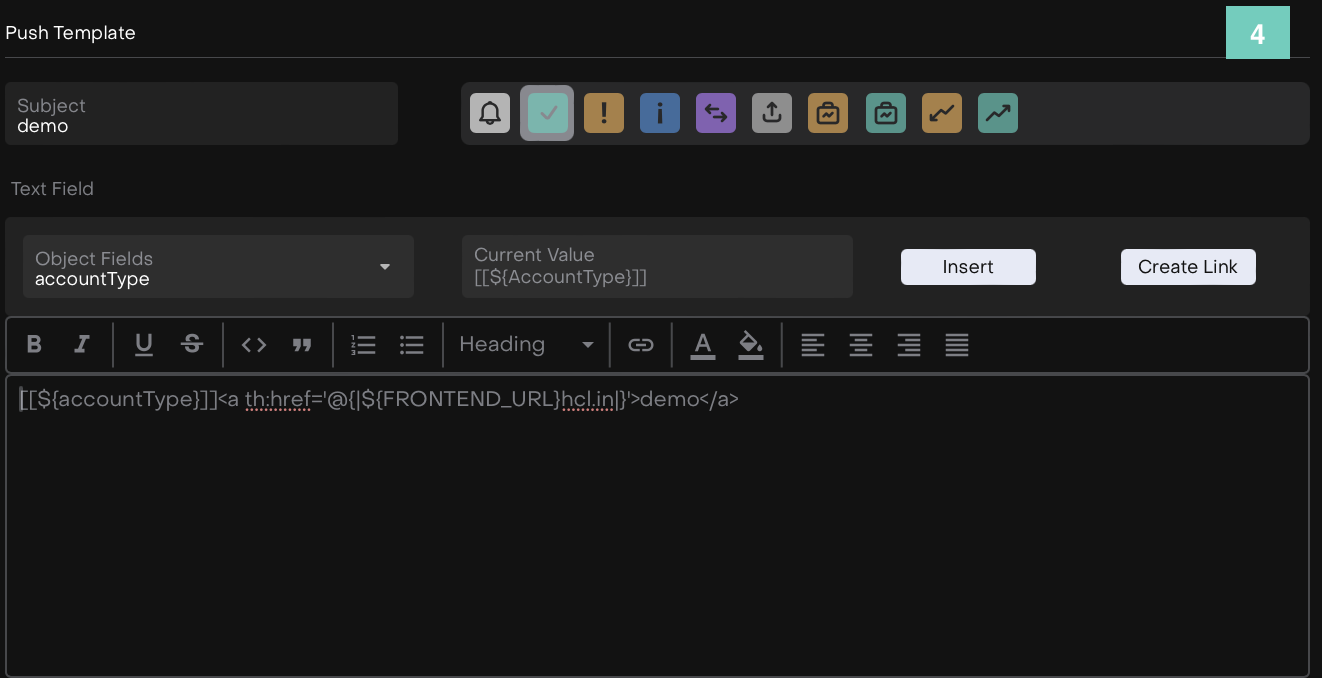
What gets sent (mail/push content with placeholders and links)
Notifications and Processes are linked. A Notification Template alone will not send alerts, it must be included in an active Process to run.
🔗 Learn how to set up Processes, here.
Key Terminologies
Term (A-Z) | Definition |
|---|---|
Criteria | Conditions that must be satisfied for recipients to be added and for the workflow to send the alert. |
Object | The entity the workflow runs on (e.g., Portfolio, Order). |
Placeholders | Tokens that insert live object data into the subject or body of the alert. |
Process | The automation path that executes actions, including sending Notification Templates. Notifications alone will not run without being part of a Process. |
Recipients | Users, departments, roles, clients, or dynamic values (fields) who should receive the alert. |
Workflow Name | The event or state change that triggers the notification. |
👉 New to some terms? Check out our full Platform Glossary for more.
Permission Requirements
Platform Name | Permission ID | Permission Levels |
|---|---|---|
Mail Template | Common email templates | View, Modify, Create |
Push Template | Notification templates | View, Modify, Create |
Where to Find on Platform
Go to User Settings > System Settings
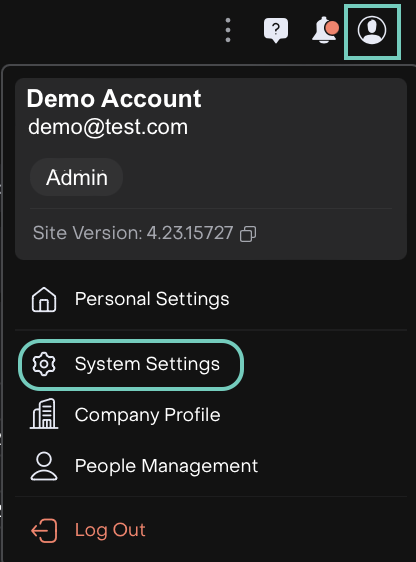
Find the Notifications tab.
Click on the + icon to create a new template.

Notification Structure
Not all platform objects are available to build a Notification. If you do not see the object you need, please submit a request to Support to have the required object delivered.
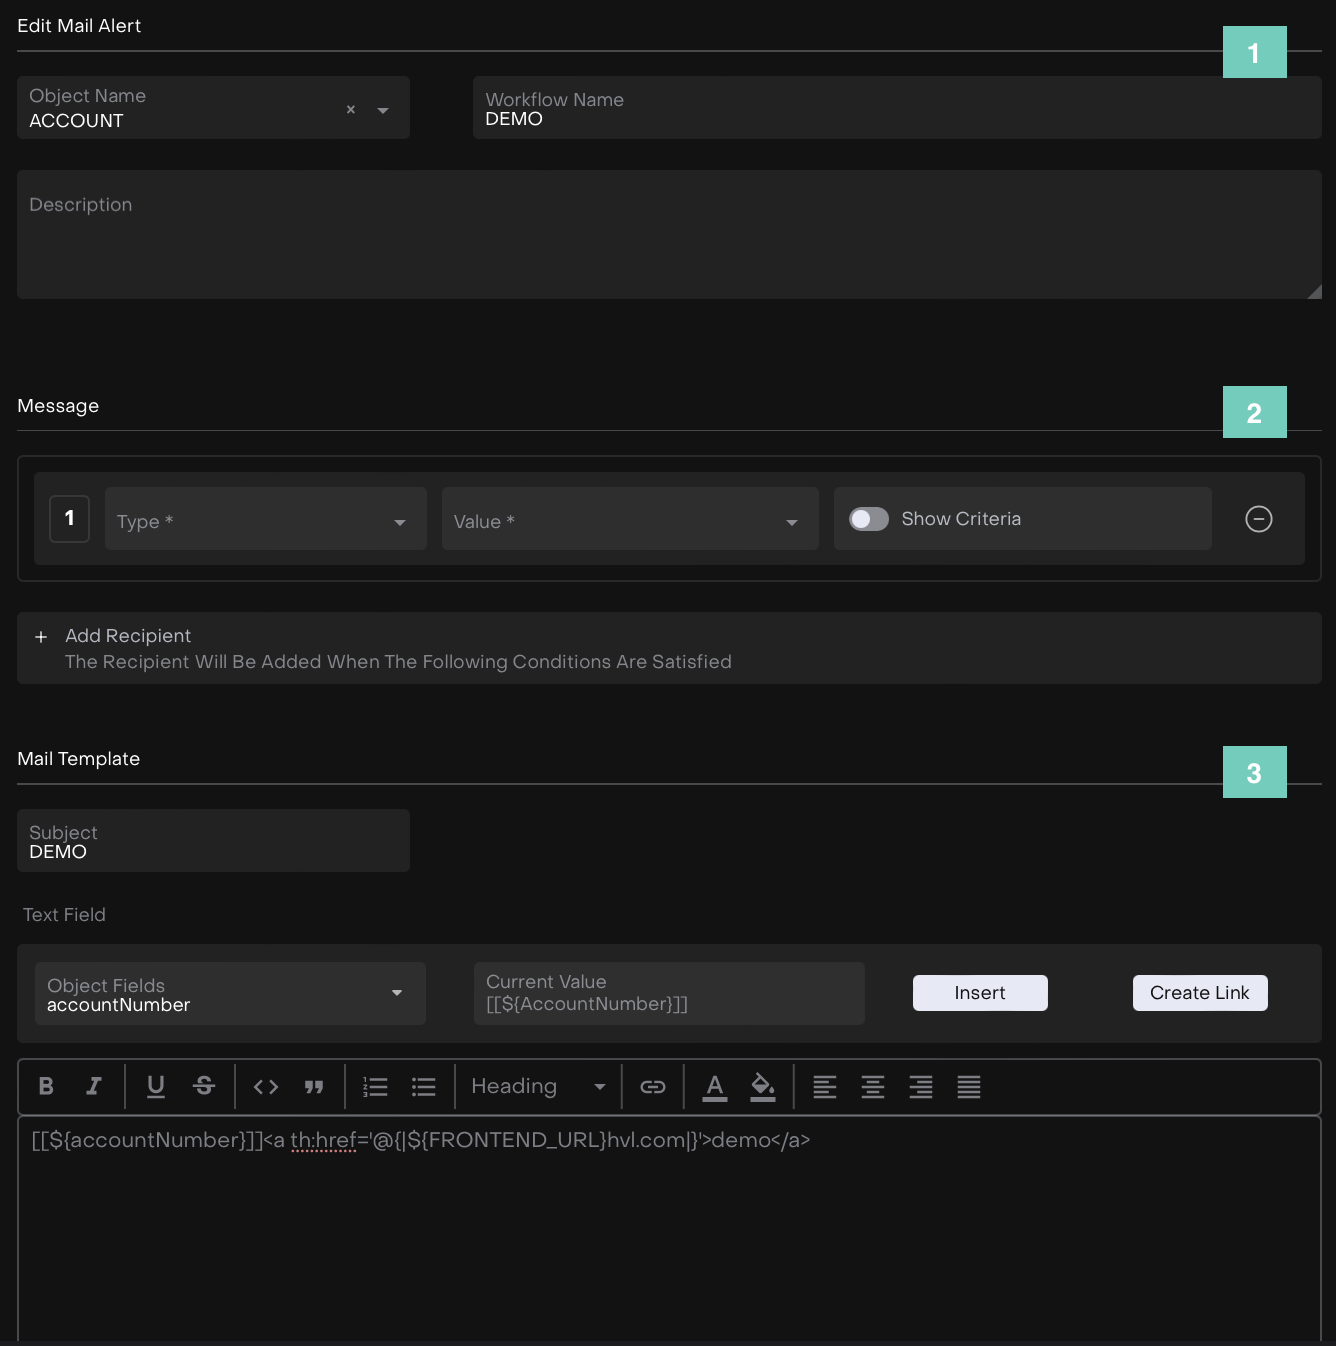
Learn how to fill in this data: